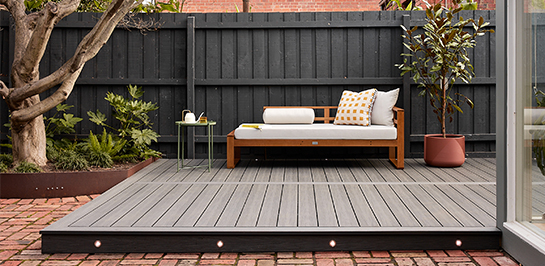
How to finish Ekodeck Flame Fighter boards
Just like our Designer Series boards, the Ekodeck Flame Fighter decking boards are capped with a DurashellTM coating, but they also have fire-retardant additives – giving the boards a certified BAL-29 bushfire rating (AS1530.8.1).
Unlike the Designer Series range, we do not have a pre-made edge boards for the Flame Fighter range. As a result, it is necessary to rework the boards in a way to give you a clean finish and high-end look.
In this article, we take you through the materials needed and steps you will need to take in order to create your own Flame Fighter edge board.
The Tools and Materials You Will Need:
- Ekodeck Flame Fighter boards
- Router
- Drop sheet
- Pencil/marker
- Measuring tape
- Drill driver
- Screws
- Angle brackets
- Drill bits
- Work platform
- Steel or aluminium edging (optional)
How to Create your Own Flame Fighter Edge Board:
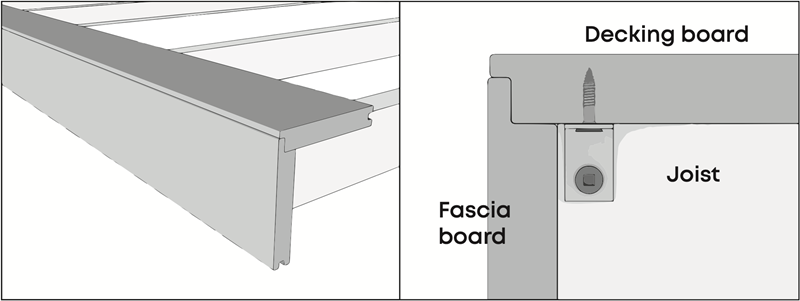
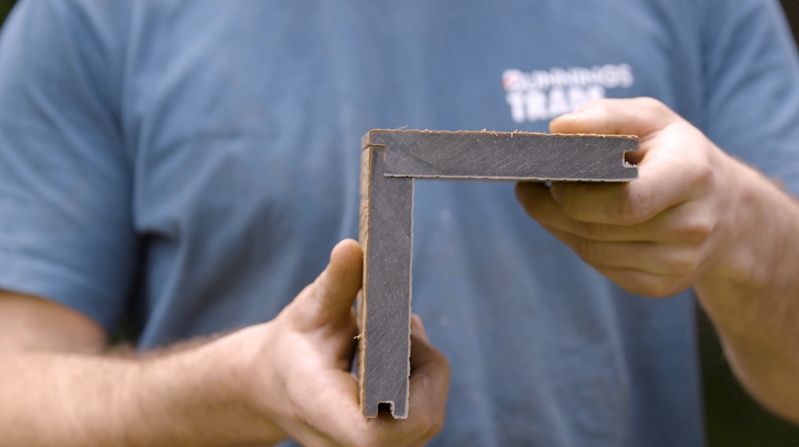
To create your own Flame Fighter edge board, you’ll need to route out the edge of the fascia, as well as the leading edge of the decking boards, so they can lock together cleanly.
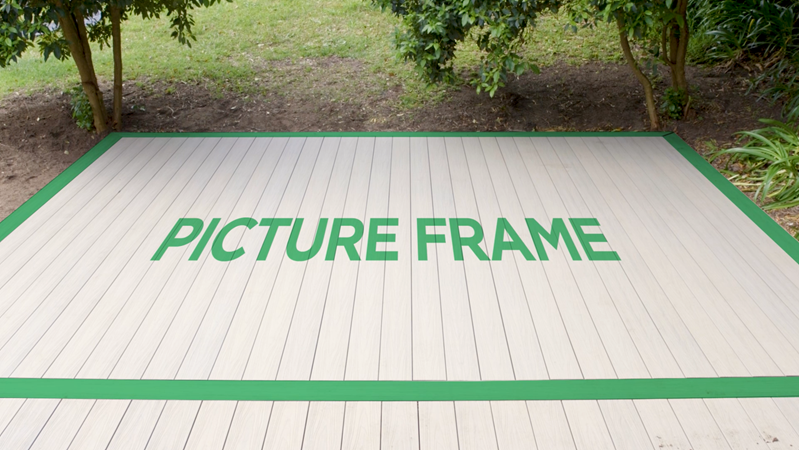
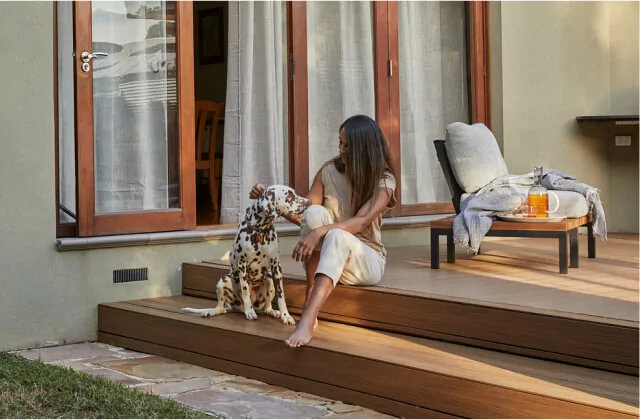
It is recommended that in order to properly achieve this finished look, you picture frame your Flame Fighter deck (like the image below).
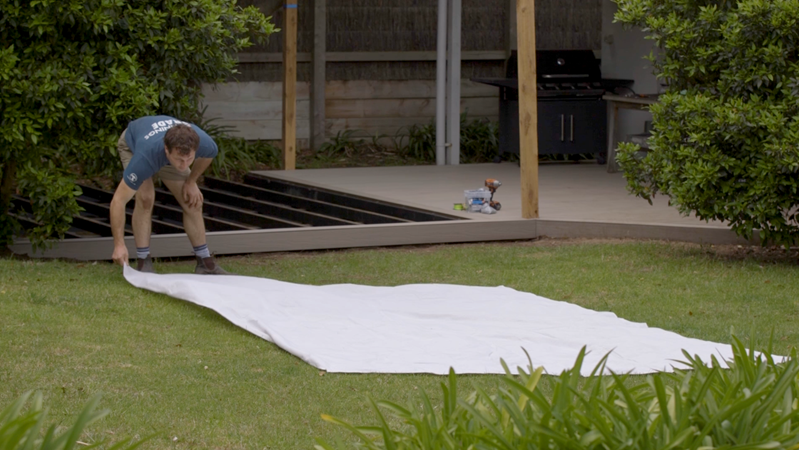
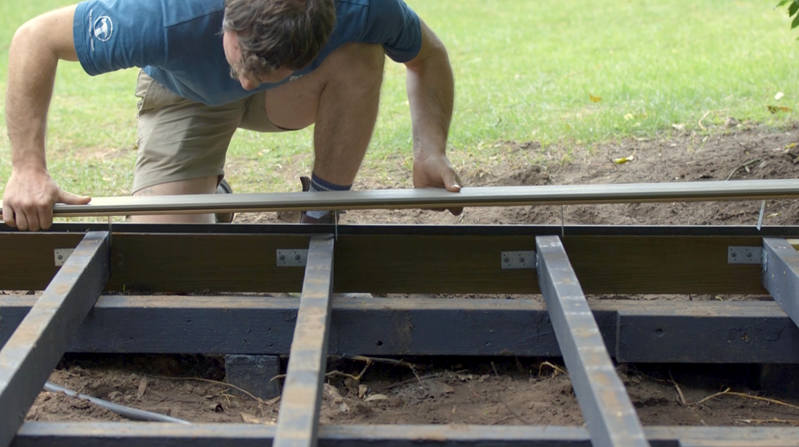
Step 1: Before starting, we recommend laying a drop sheet down to collect any shavings from routing the board.
Step 2: Once that is done, clamp the board in place, allowing enough room for your router to pass. You are now ready to route your board.
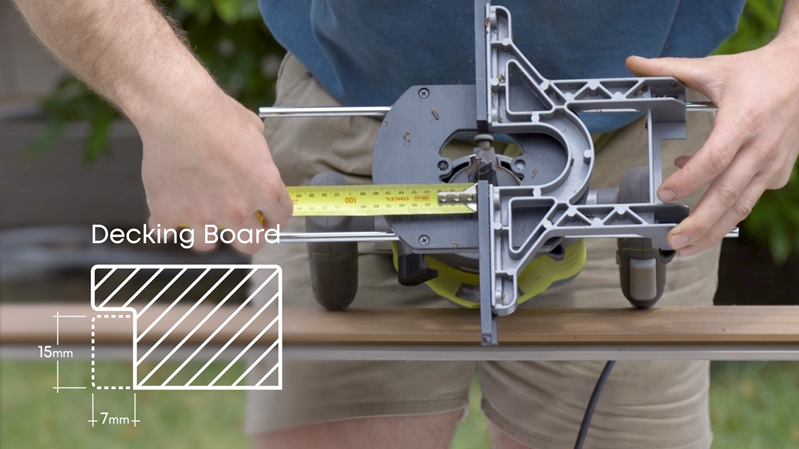
Step 3: To start, route out the leading edge of your decking board, 15mm x 7mm. If you have multiple steps, edge boards or fascias, route out all similar boards at the one time, to avoid changing the router settings more than necessary.
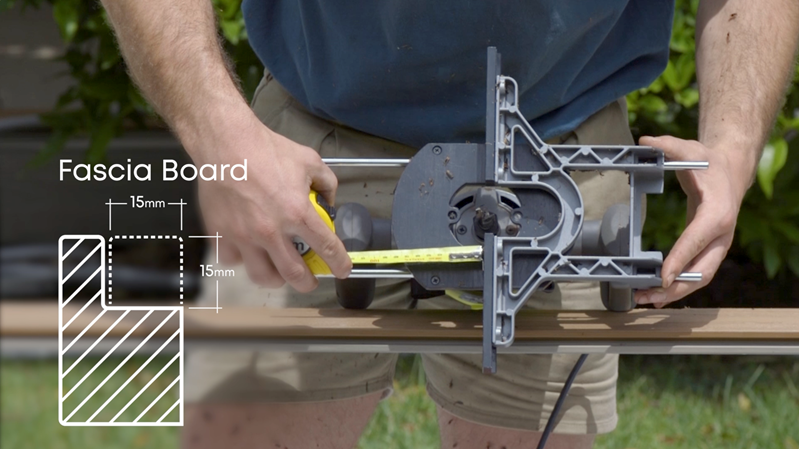
Step 4: Now you can route out the fascia board, 15mm x 15mm.
Step 5: Once you have routed out your first fascia board, check it aligns properly with your decking board. If it does, continue routing the rest of your fascia boards.
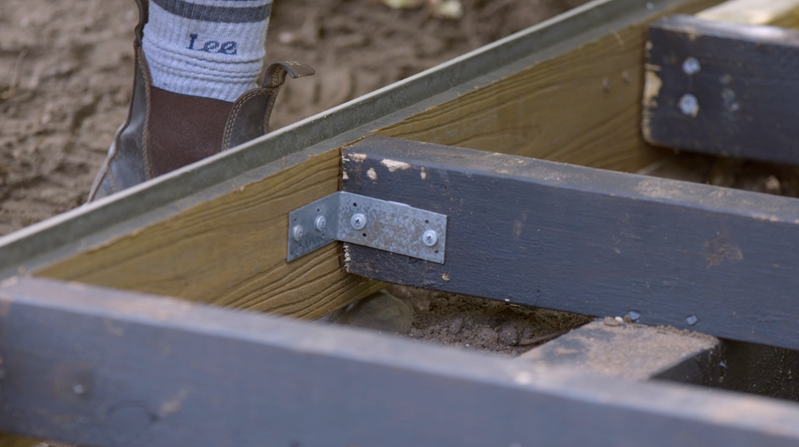
Step 6: You are now ready to install your picture framing and fascia boards. We recommend installing the fascia boards first, either using right-angled brackets, or by face fixing.
Top Tip: lay your fascia board in place and mark the location of the joists to make it easier to work with.

If using angle brackets, predrill the board and fix it in place using 20mm long screws, making sure not to over-tighten them.
You can then secure the leading edge of your board, also using angle brackets. Fasten the bracket securely into the joist, and then you are all done!
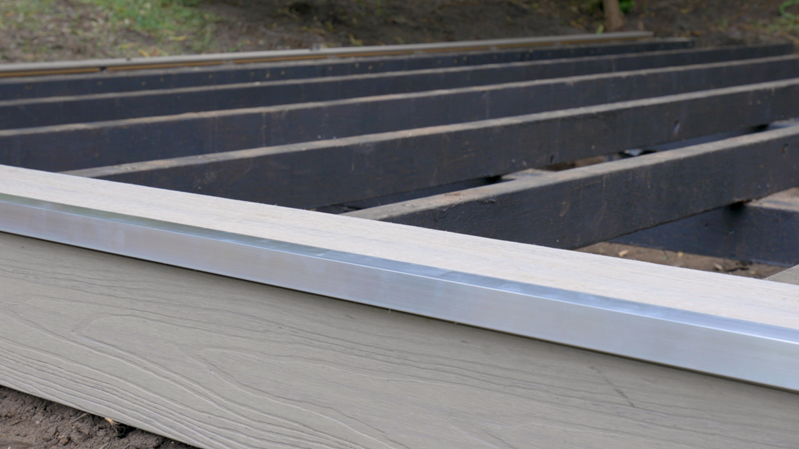
Alternatively, you can affix either steel or aluminium edging along your boards, instead of routing the edges.
Want to Learn More?
We hope this article helped give you some clarity on how to finish your Ekodeck Flame Fighter Boards.
If you need further assistance, check out our how-to video to see the process in action. Alternatively, you can reach us at [email protected] or call on (03) 9639 7774.
You may also like
Get started with Ekodeck
Experience our entire colour range for yourself. We deliver a sample kit complete with each colour direct to your door.