With the end in sight we were keen to get this deck finished off (it was Sunday after all!)
We only had a few jobs to do, but they were critical in ensuring a clean finish of the deck. First we had to finish installing the last boards up against the house.
There was a downpipe, some plumbing and the last board needed to be ripped down to fit, too. Taking our time, we carefully measured out where the pipework was and marked out the boards where they needed to be cut. Using a jigsaw, we made a cut-out for the downpipe and used a circular saw to rip down the width to fit, too. To finish, we top-fixed using 10g stainless decking screws, just like we did when installing our fascias.
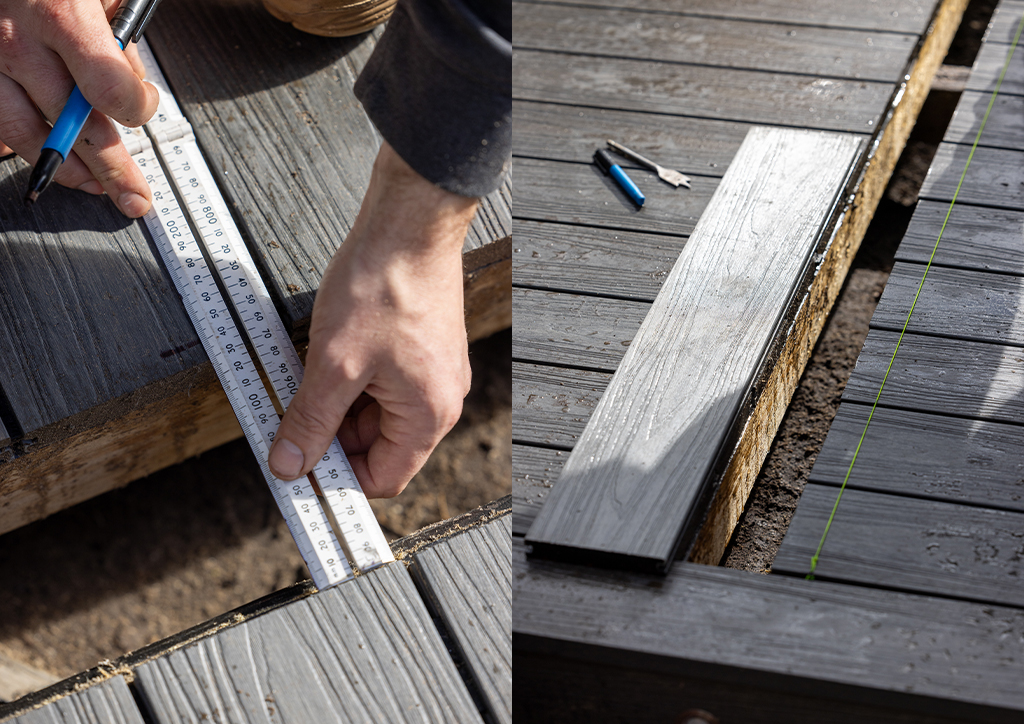
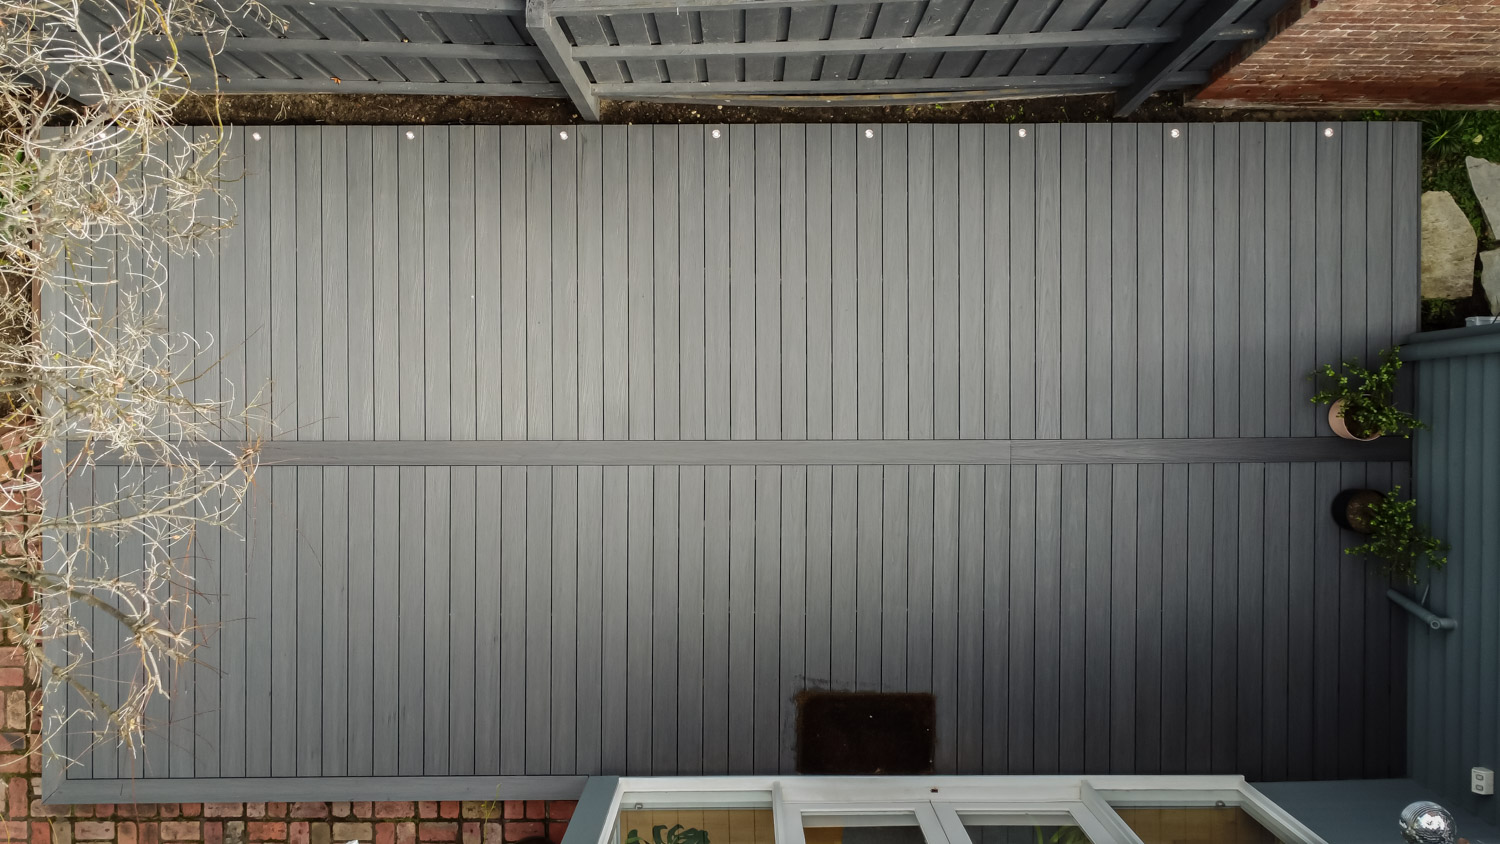
With all of our boards now installed, we could mark out where our breaker board is going to sit and make the cuts – this is a pretty big moment and definitely one we took a lot of time double-checking our measurements on!
To do this, we got out our string line and marked out where the breaker board would sit. Using an off-cut of Ekodeck was perfect to help us out here – we needed to ensure the breaker board was going to sit on the framework we had prepared for it, and then also leave an extra few millimetres either side for expansion and contraction of our decking boards.
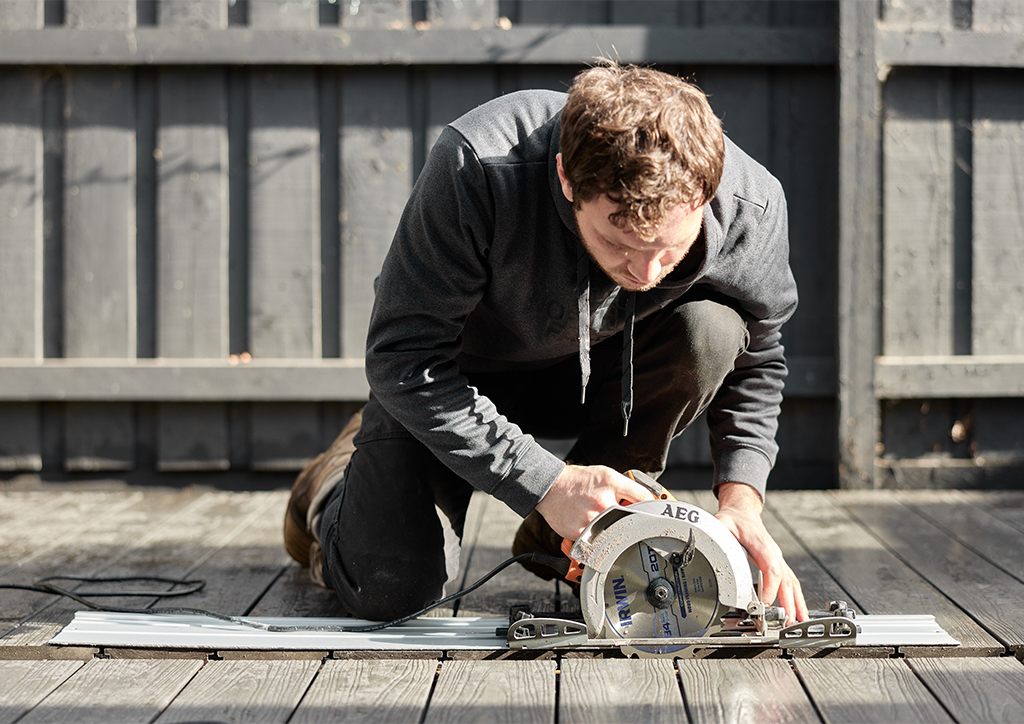
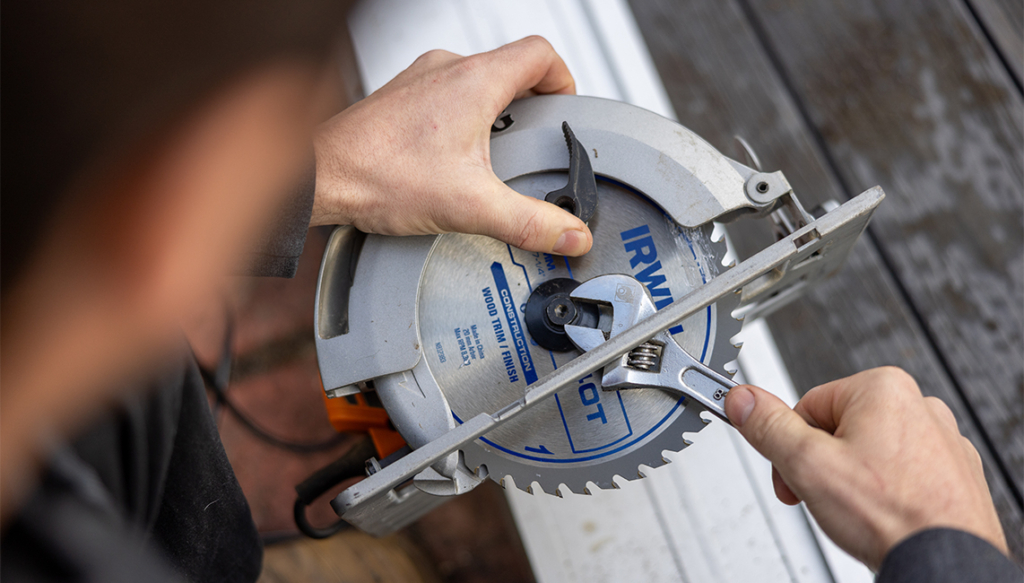
We then set up our circular saw, setting the depth so it would only cut through our decking boards, not our joist tape or joists.
With the saw now set up and a fresh blade installed, we were almost ready to make our cuts – before we did, we needed to move the Standard Clips out of the way so they didn’t get chopped in half! Remove the screws and slide the Standard Clips back along the board and out of the way.
We were now ready to begin cutting! Luckily, we were able to borrow a track-saw jig from a friend, which helped in keeping a straight line edge. We then trimmed the boards along the marked line with our circular saw and guide.
To finish off, we slid the unsecured Standard Clips along the boards, into the groove of the breaker board and fastened the screws. You may need to clean up any fuzzy edges with a sharp blade or stanley knife.

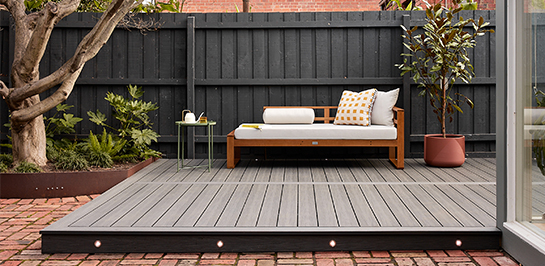
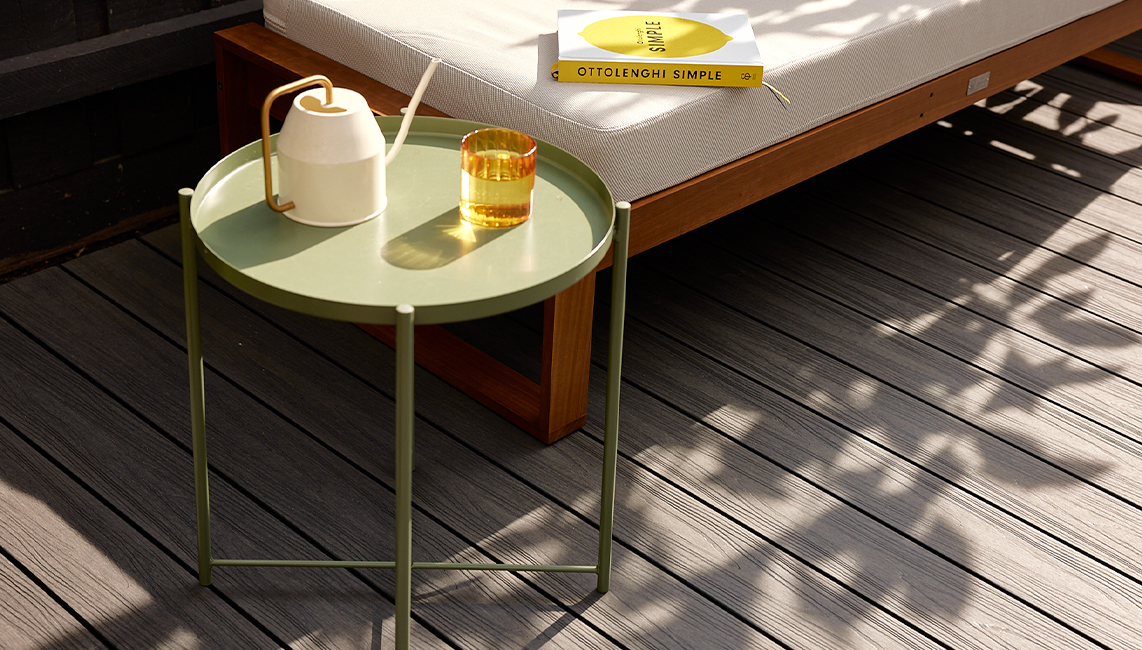
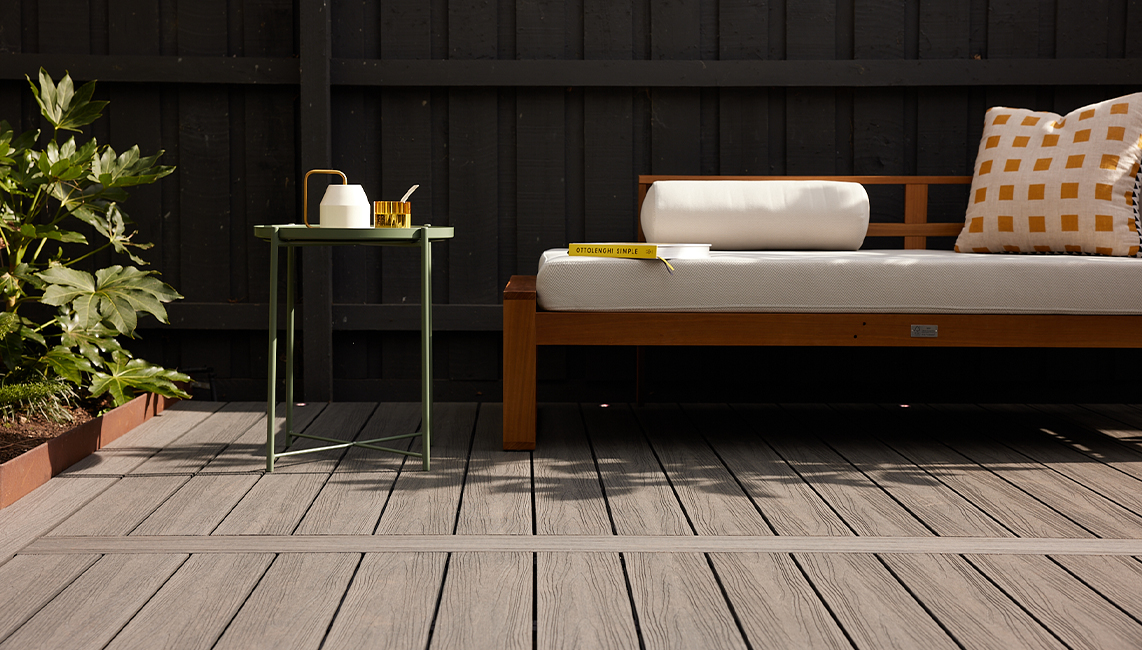
Once you’ve made sure that everything is fixed down and cleaned up, you can give the deck a quick clean – and you’re all done!
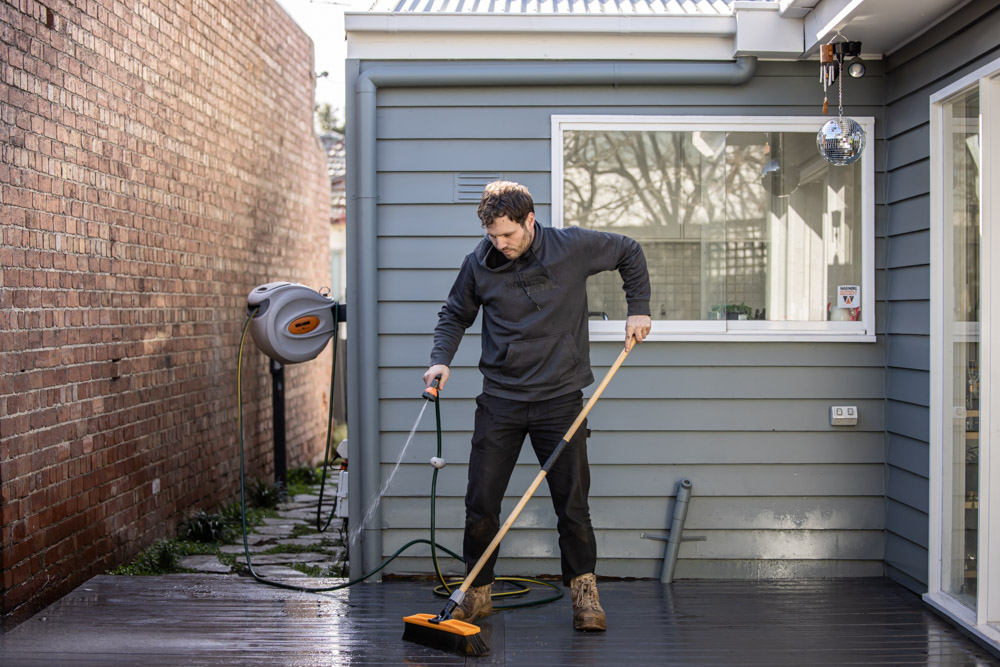
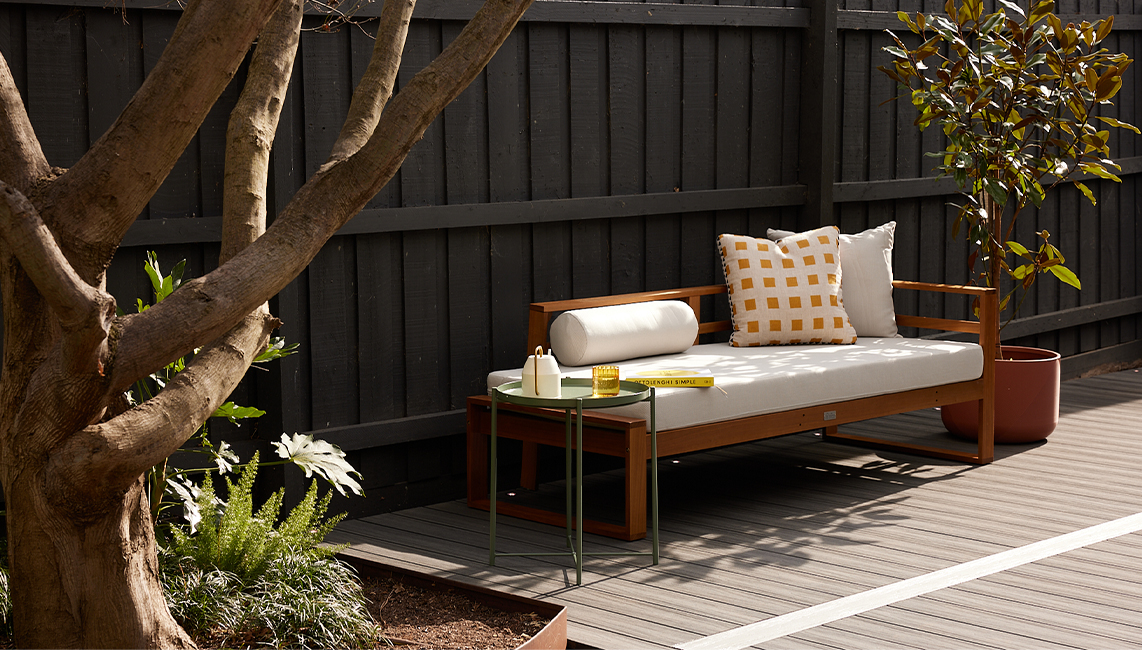
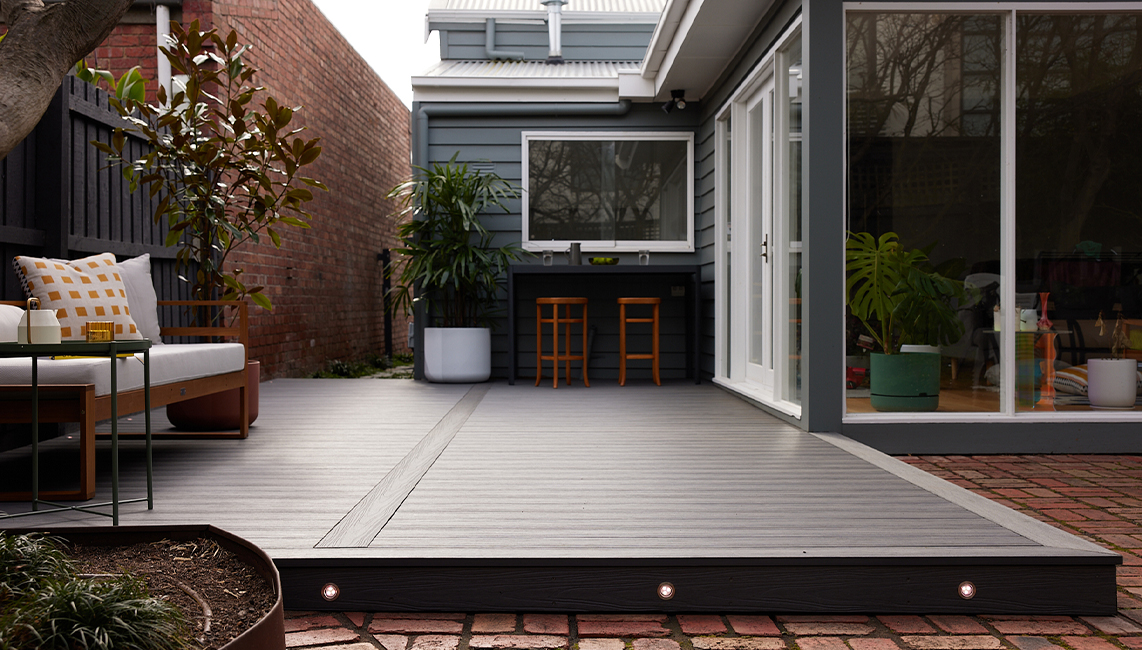
It’s now time to kick back and enjoy your newly built deck – you’ve earned it! If you have any questions or queries don’t hesitate to get in touch with us at [email protected] or give us a call on (03) 9639 7774 – we’re here to help!

Get started with Ekodeck
Experience our entire colour range for yourself. We deliver a sample kit complete with each colour direct to your door.