With the removal of the old decking and joists out of the way, the decision was made to keep the existing bearers and posts.
The concrete stumps were solid and in great condition, as you’d expect, and the bearers were still holding up great.
The plan here is to lay new joists to support our Ekodeck, as well as the breaker board which will be running down the centre of the deck.
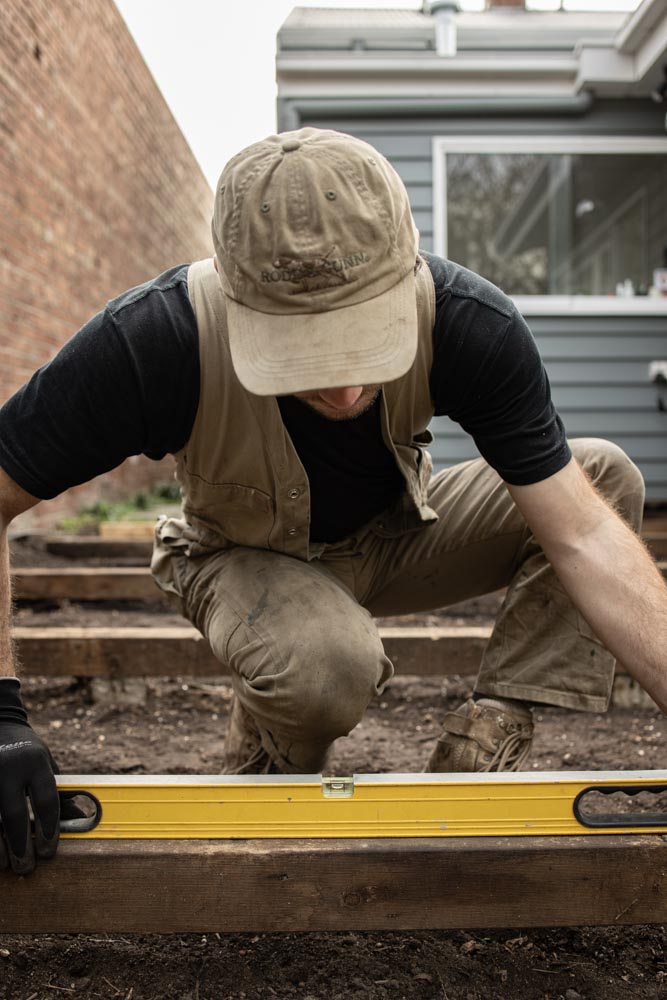
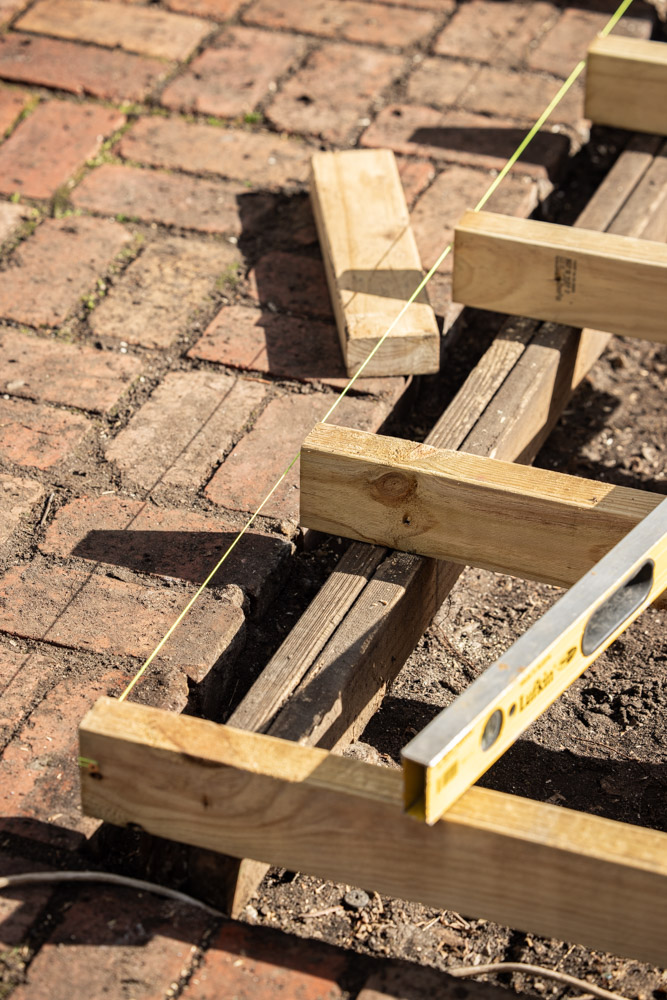
To begin, we checked all the bearers to ensure they were straight and level.
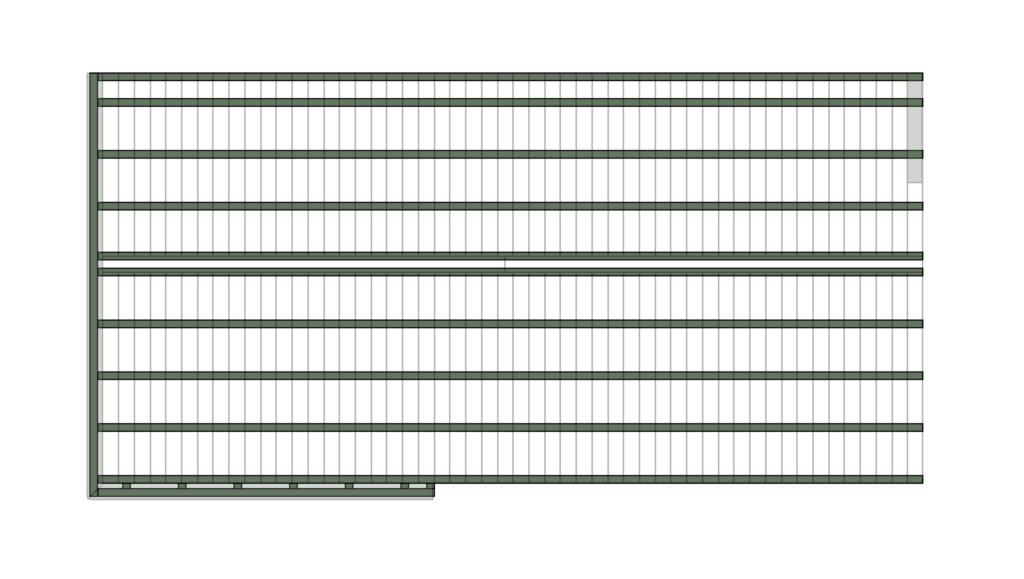
Facing the fence, the decking boards are running up and down, so the joists need to run left-to-right. We opted to use 90 x 45mm H3 treated pine, as we have adequate ground clearance beneath the deck and treated pine is quite easy to work with. The joists need to run the entire 7700mm length of the deck – for this we ordered 10 lengths at 4.8m and 10 lengths at 4.2m. We’ll join the joists together using offcuts to get the length we need.
Check out the set out for the subframe below:
To begin, we installed the first joist up along the house. For structural integrity and longevity we’ve decided to pre-drill and screw the joists to the bearers using 75mm 10g external screws on a diagonal at opposite sides with two screws (one on each side) at each bearer.

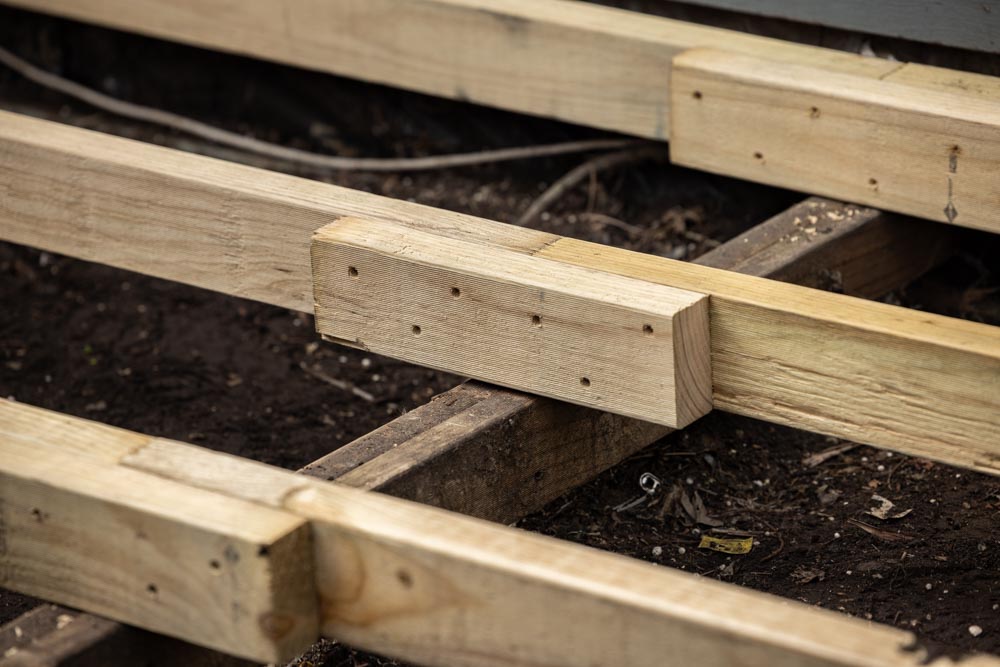
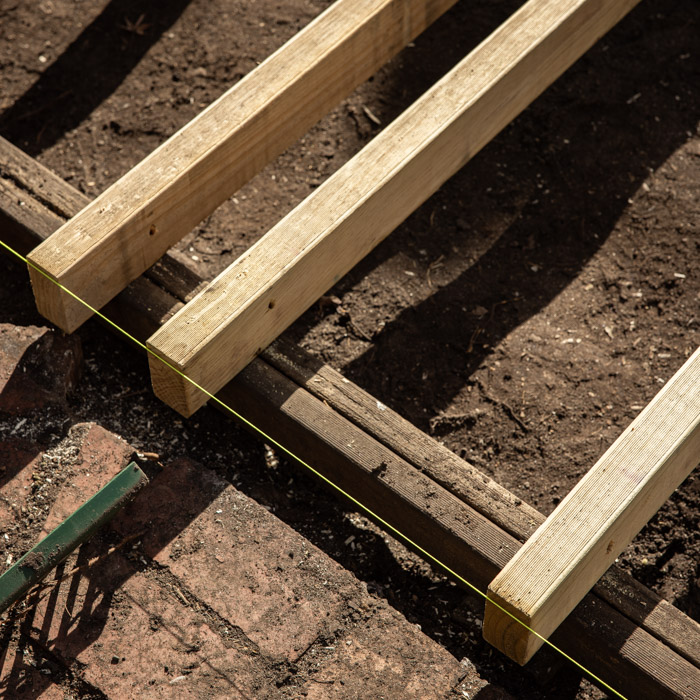
As the joists weren’t long enough, we needed to laminate (join) them together on top of one of the bearers. To do this, we used an offcut approximately 500mm long, screwing it to both joists using 6 screws in an alternating pattern.

To make it easier to space out the joists, we cut a couple of blocks at 405mm which, when you place the block between the joists, gave us an effective centre-to-centre joist spacing of our desired 450mm.
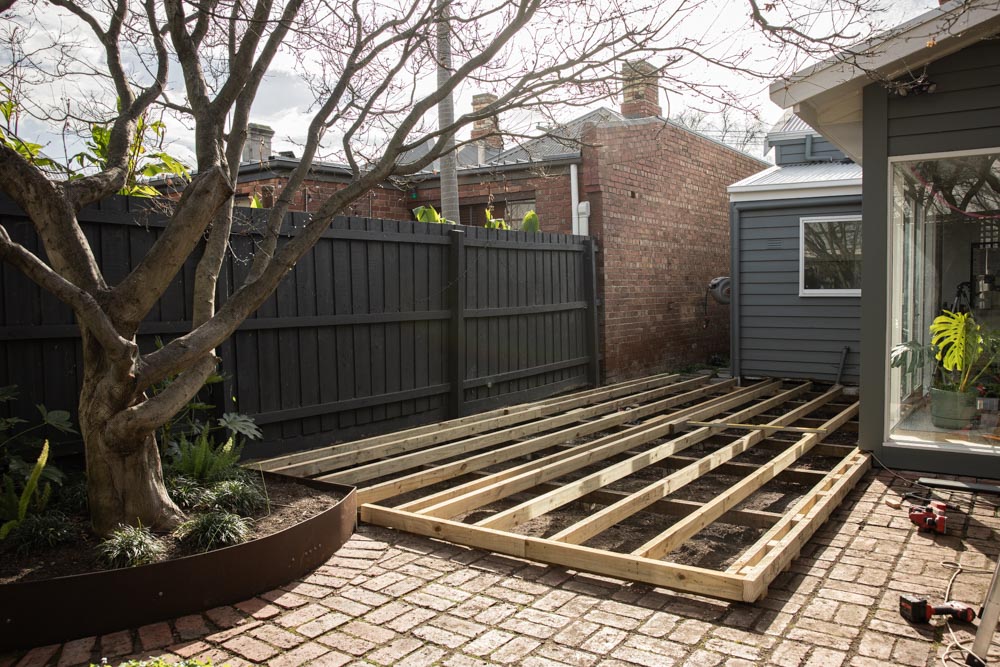
We continued to install the joists until we got to the centre, where our breaker board is running. As the breaker board runs perpendicular to our decking boards (the same way as our joists) we need to put in some additional framing to support the breaker board. To do this, we set two joists 120mm apart – this will give the breaker board support as well as the ends of the decking boards which will run into the breaker board.
With all of the new joists installed, we put in some additional framework for our picture frame on the outside step. This was done in a similar way to our breaker board framework, but this time we used a ladder frame design using timber blocks.
Given we had unrestricted access to beneath the deck (and it had only just ticked past 2pm!), now was the perfect time to run all of our cabling for our deck lights. We opted to use the 45mm RGB deck lighting range from Holman, which are a simple plug-and-play solution and don’t require an electrician to install.
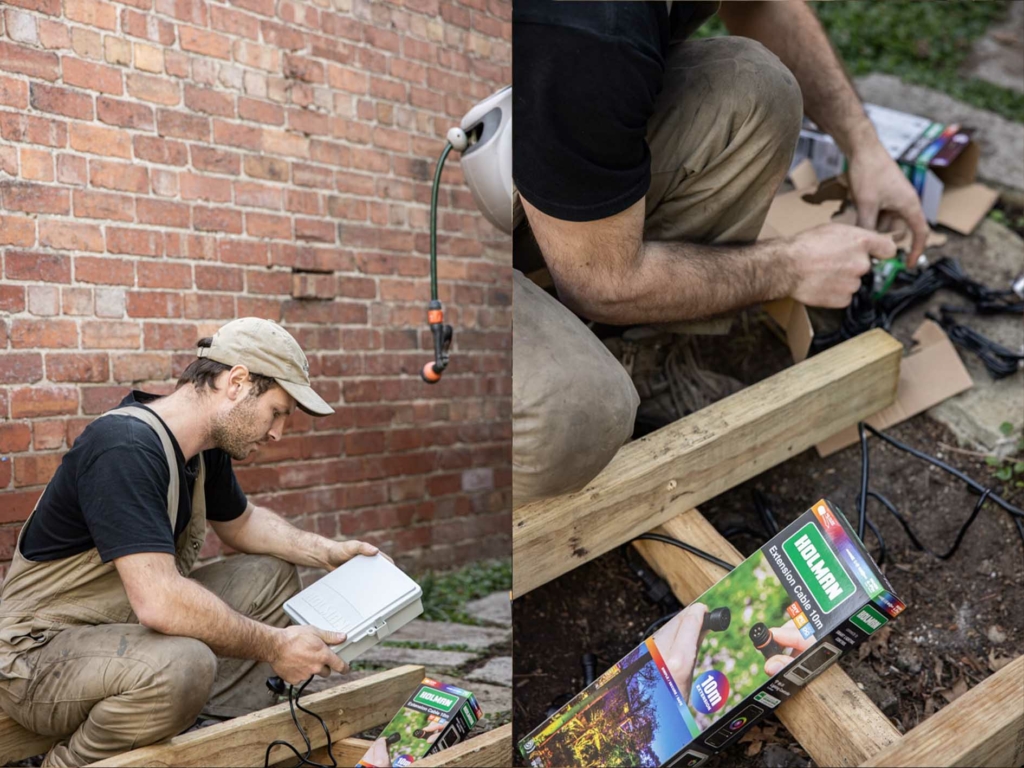
We mounted the Wi-Fi garden light controller on the wall around the side of the house and continued to run the cabling for our lights. This makes it much easier to install the lights once the boards are installed as all of our wiring and lights are in the right place. For this whole deck, we used the following:
- 1 x Holman RGB Wi-Fi Garden Light Controller
- 3 x Holman 45mm RGB Colour Deck Light – 6 Pack
- 2 x Holman RGB Colour Garden Light Extension Cables – 10m
- 3 x Holman 45mm RGB Colour Deck Lights – 6 Pack
- 1 x Holman 2m RGB Colour Garden Light Spacer Cable
Check out the full how-to video on how to install Holman decking lighting if you’d like more information.

With the new joists laid and cabling for our deck lighting run, it was time to have a knock-off and get ready for the big day – installing the decking boards!
Get started with Ekodeck
Experience our entire colour range for yourself. We deliver a sample kit complete with each colour direct to your door.