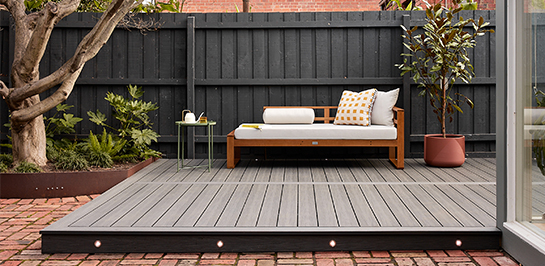
Now that everything’s been planned and ordered, it’s time to get on the tools!
We started by removing the old, worn timber decking.
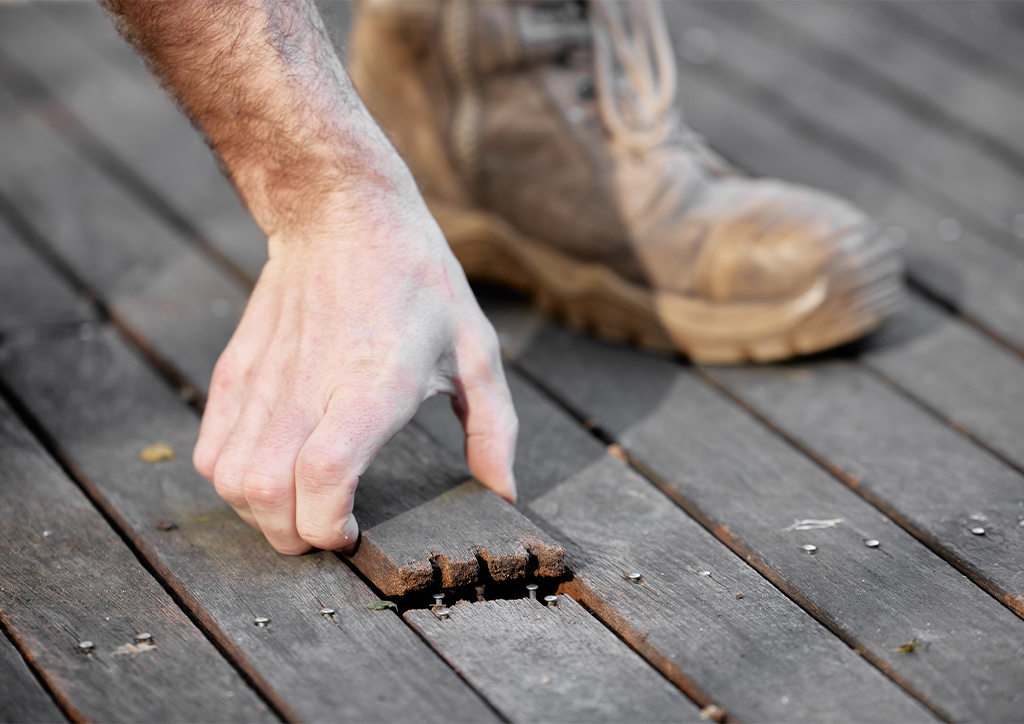
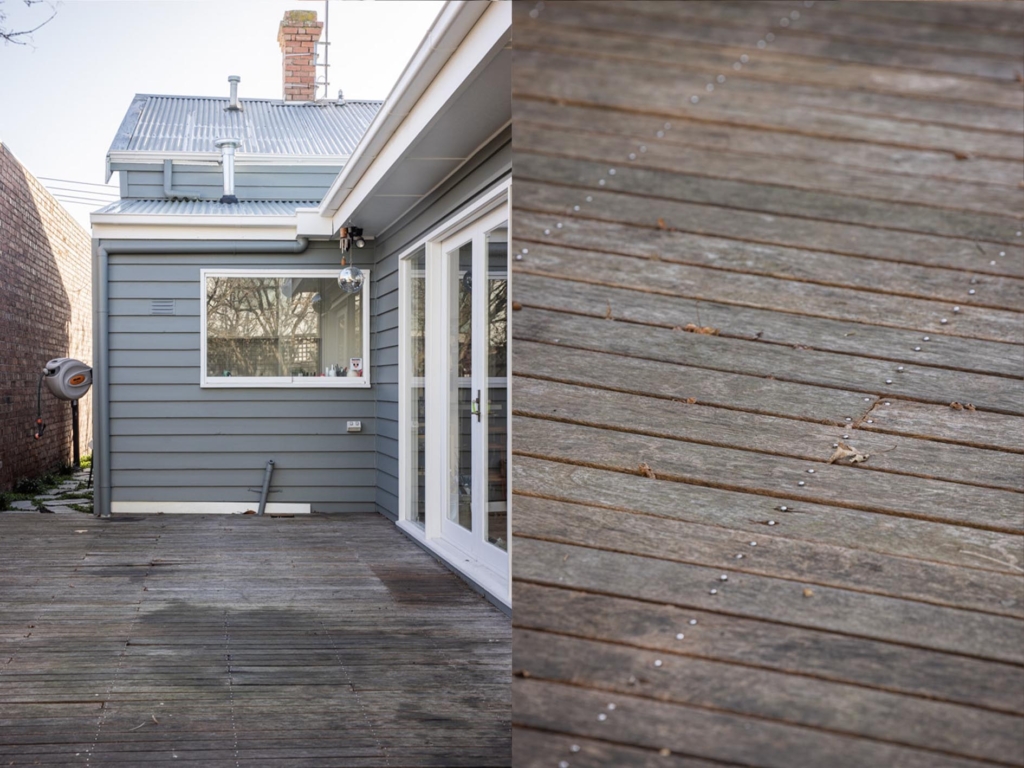
As you can see from the photos, the timber decking had seen better days. There were plenty of nails popping up, boards rotting out and safety hazards all across the existing decking. No amount of sanding or oiling was going to bring this deck back to life!
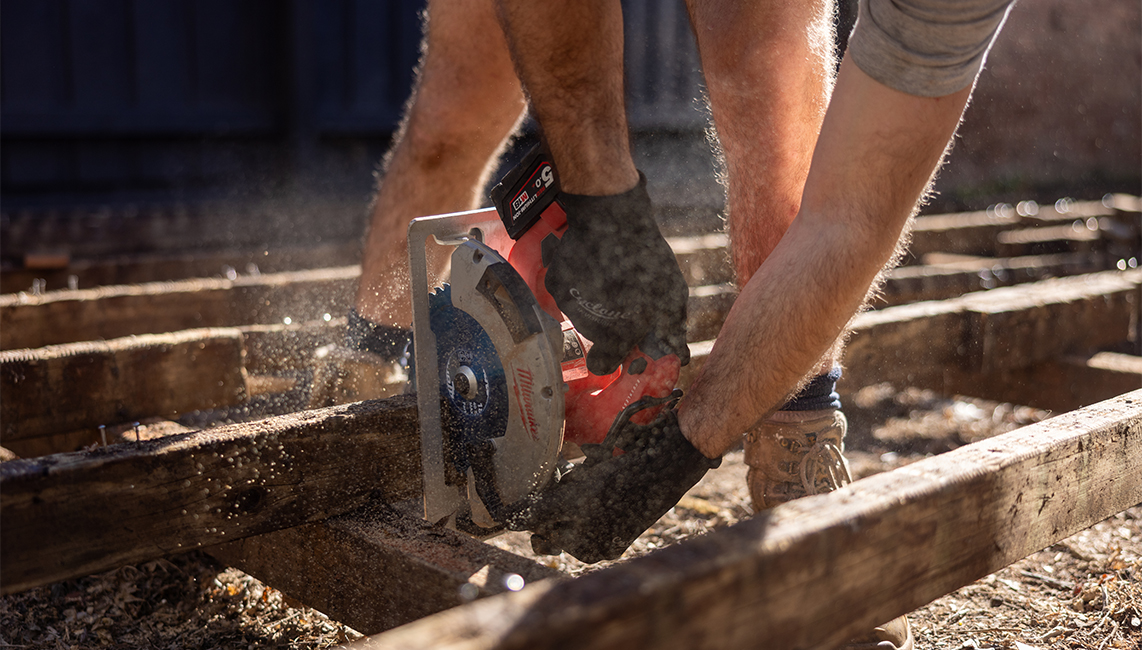
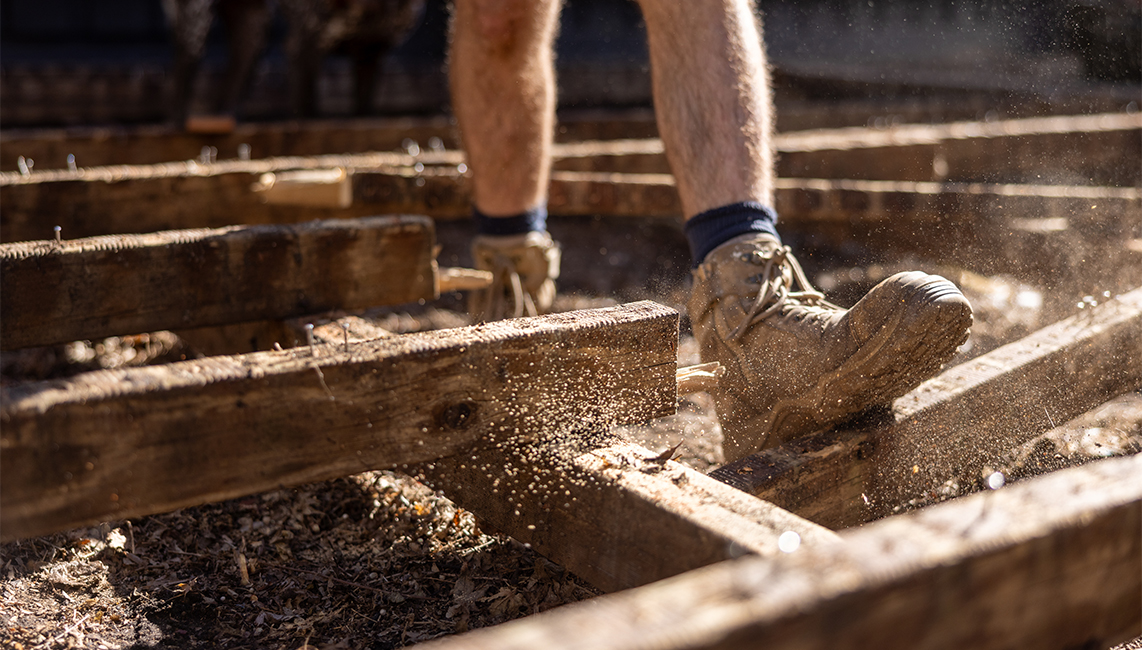
To begin, we started off by cutting the decking boards along the joists into smaller pieces. This makes them much easier to remove and lever off. We did this by cutting the timber decking boards with a circular saw along the joists and then levering them off.
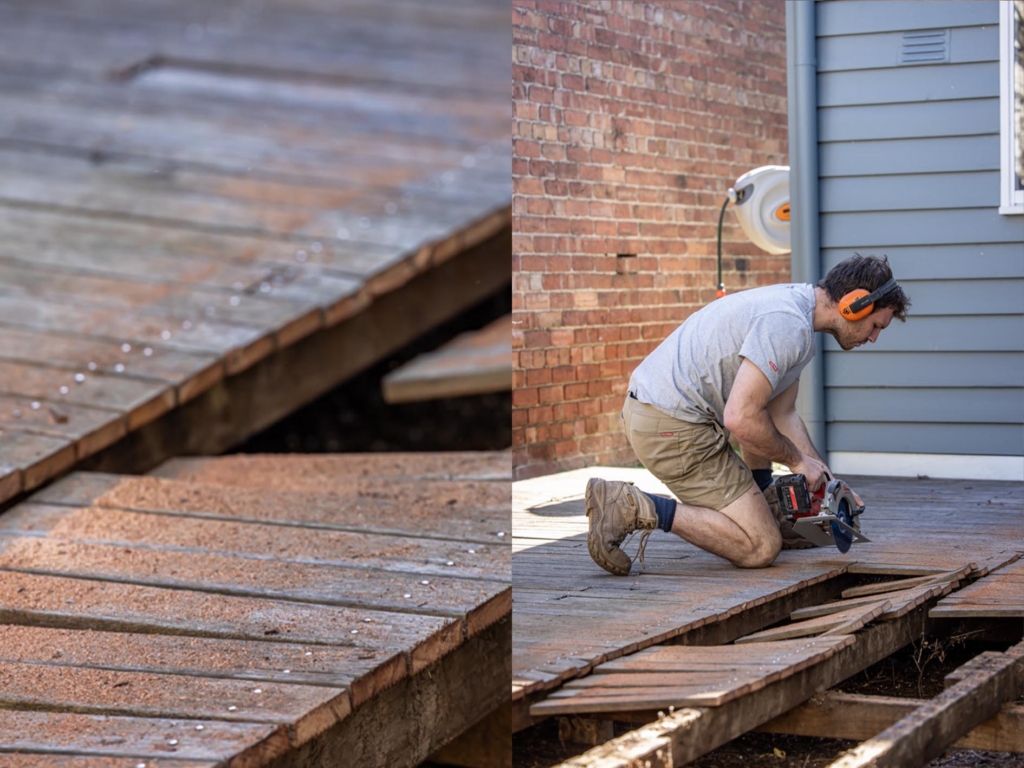
Tip: Try to keep the site clear and clean at the end of each stage and at the end of every day. This will make a huge difference to your ability to see things like faults and your own tools! We find this is a great practice to assist clearing the mind – you can plan ahead when you can think clearly and having an uncluttered space can greatly assist.
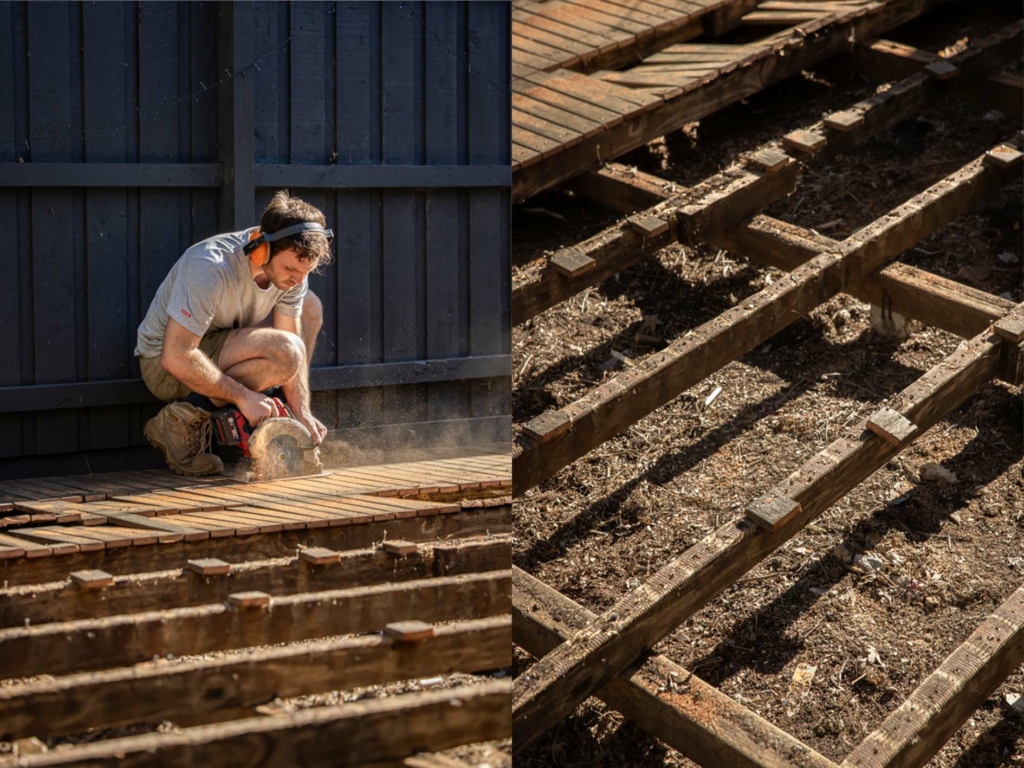
Once all the timber decking boards were removed, we checked the existing framework to see if it was structurally sound and could be re-used. Unfortunately the joists had rotted out, especially along the top. These needed to be removed.
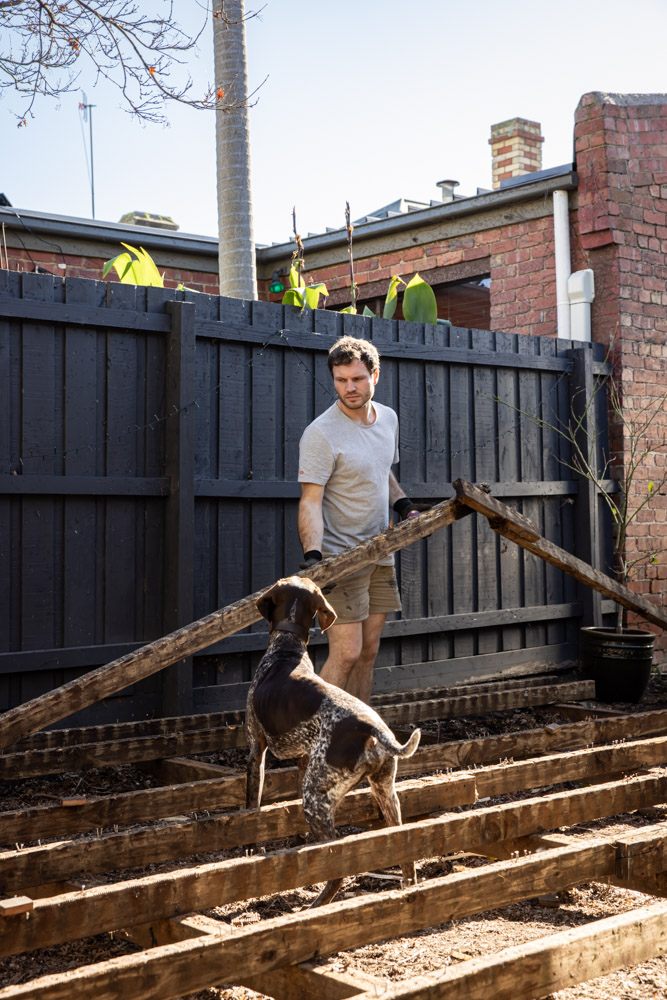
The bearers (the timbers on top of the posts) were in good knick so we were able to keep these along with the concrete stumps which were super strong, solid and level! If you’re building a deck from scratch, check out our video on how to build a subframe here.
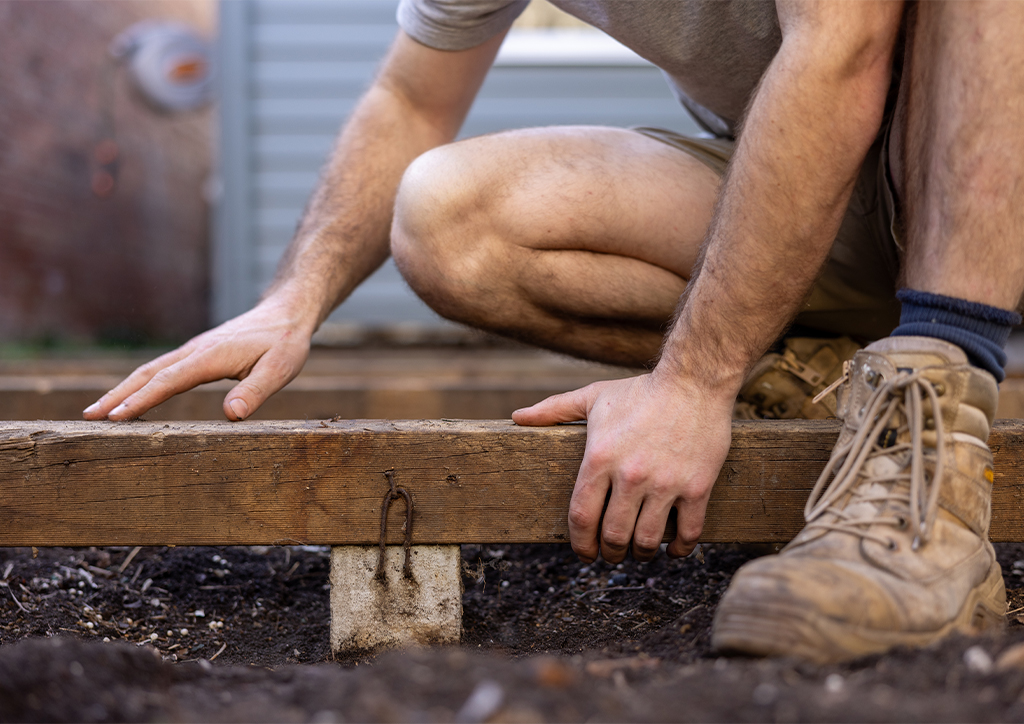
The deck is only going to be as good as the subframe. Given that Ekodeck is built to last in any outdoor environment, it’s important that the subframe will last just as long. After clearing up (and a trip to the tip!) that was the end of Day 1. Tomorrow we replace those joists and get that subframe ready for the deck!

Get started with Ekodeck
Experience our entire colour range for yourself. We deliver a sample kit complete with each colour direct to your door.
