How to make a fence out of Ekodeck Screening
If you’ve got a fence or gate in your outdoor space, it can be more than just a boundary; it can be an opportunity to add some flair, as well as functionality.
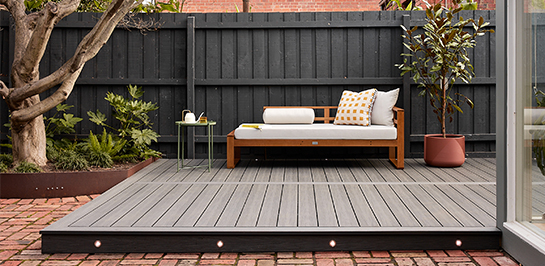
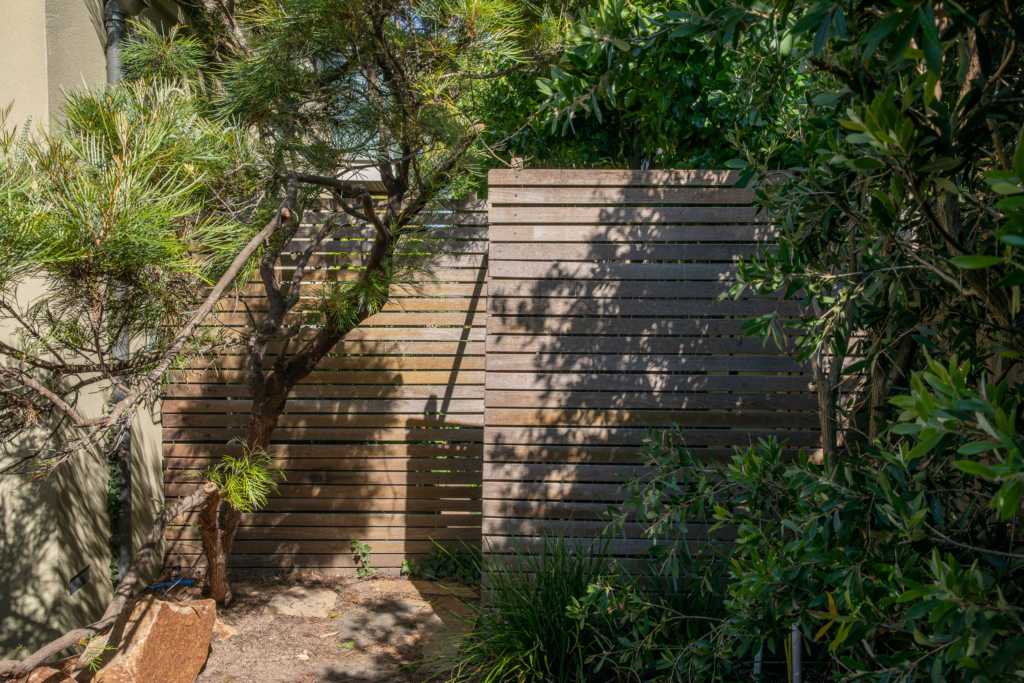
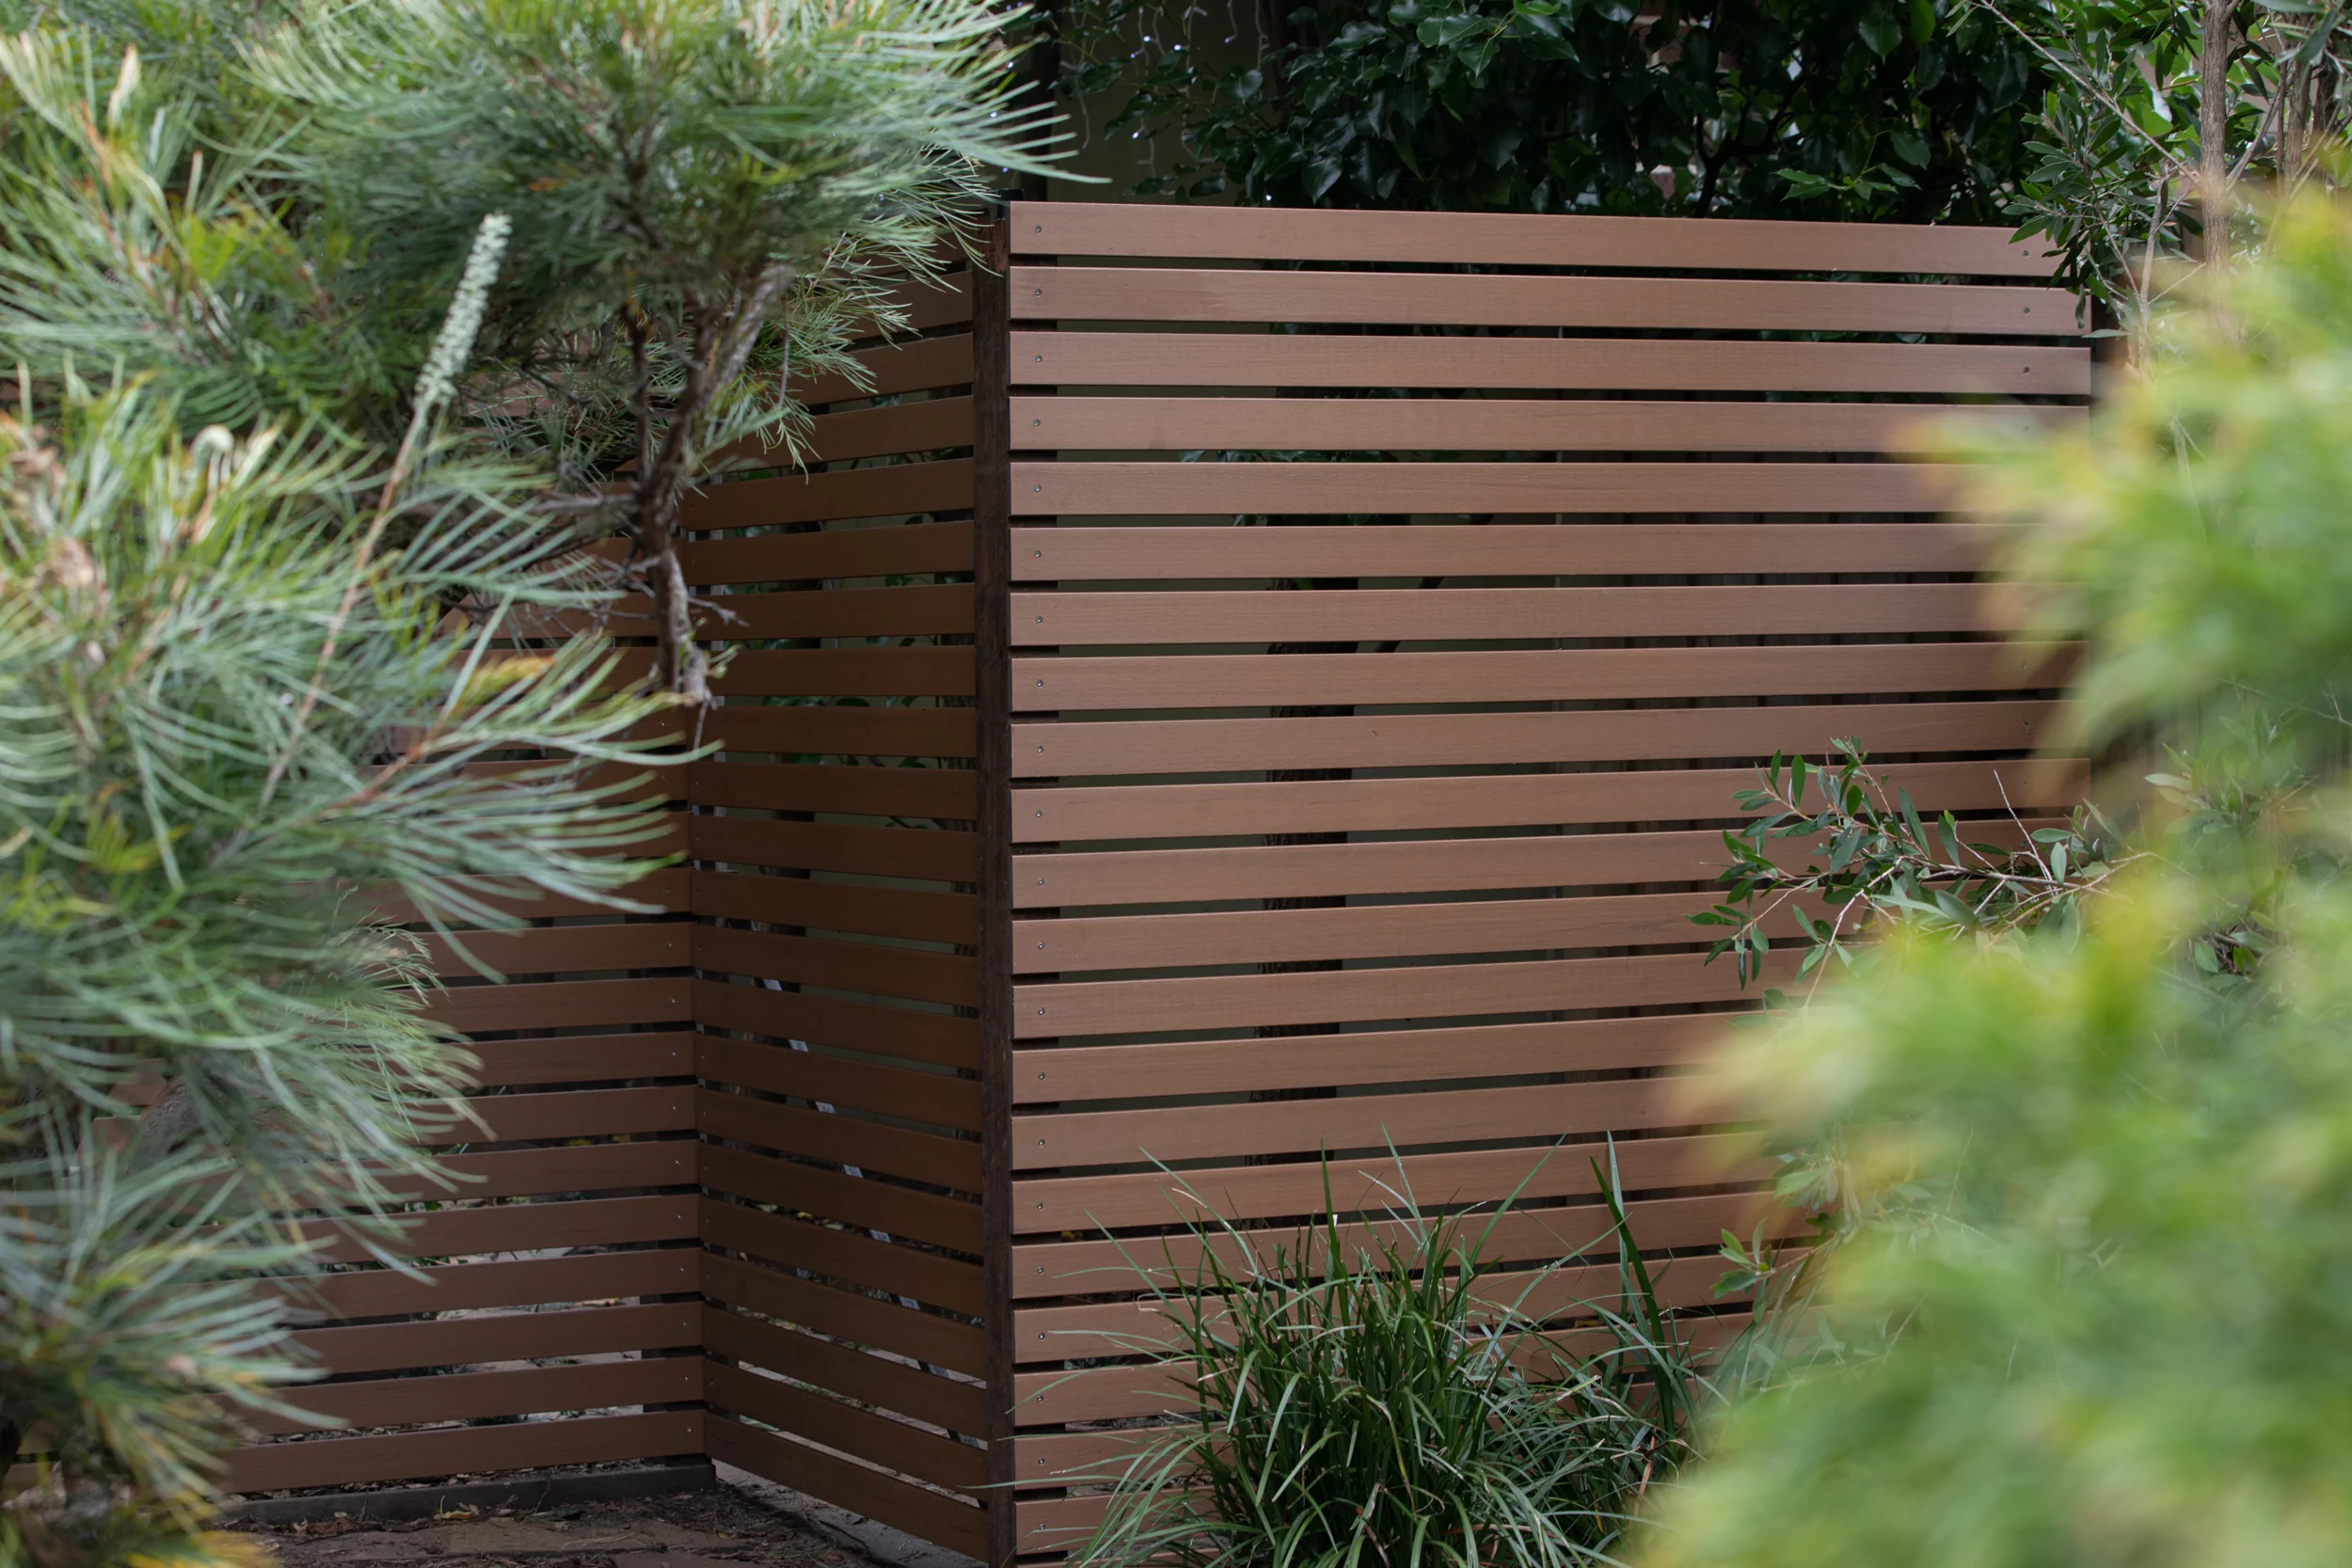
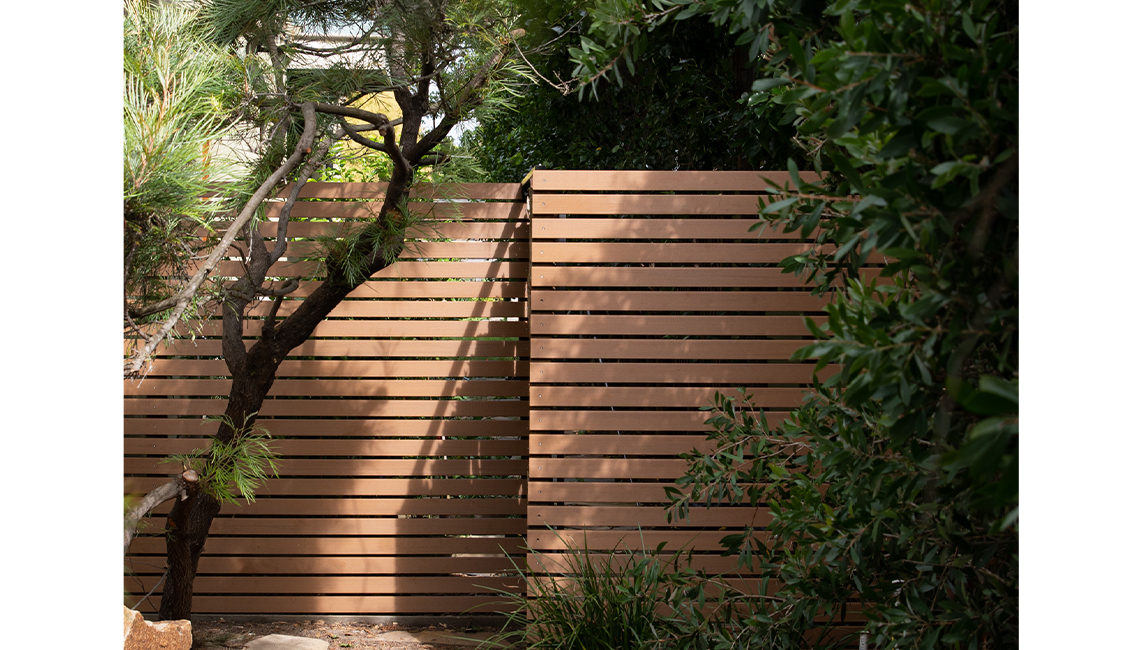
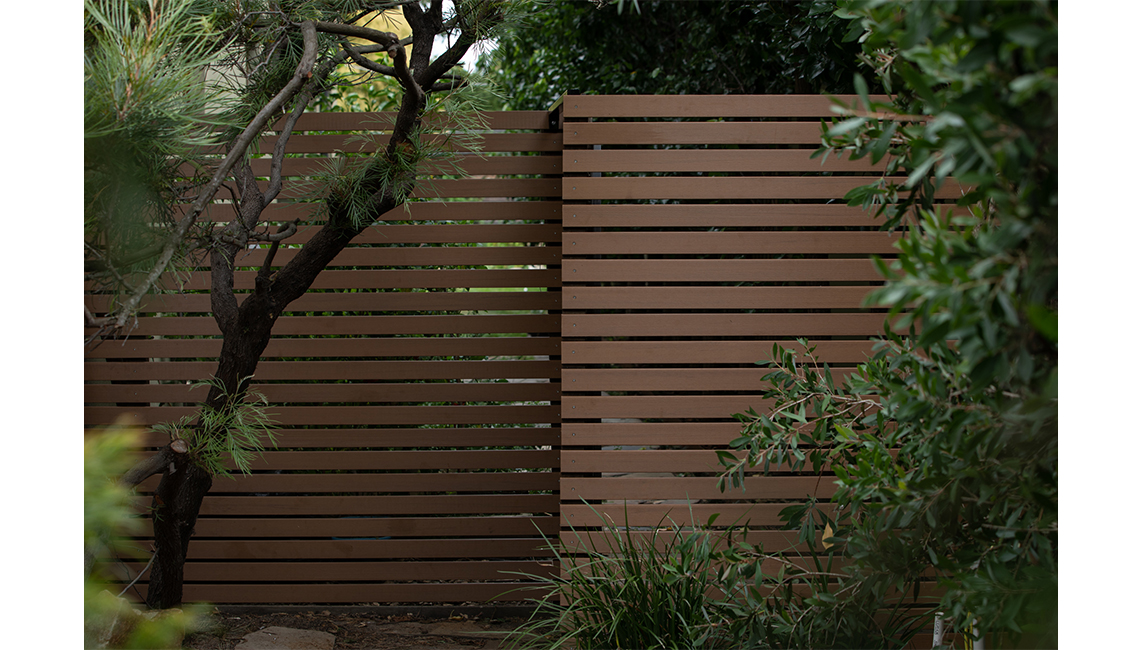
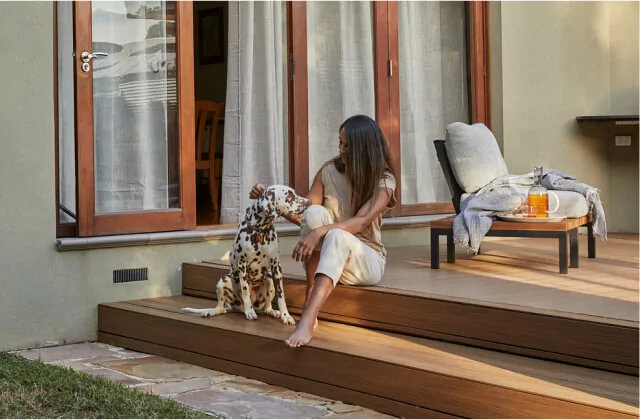
Ekodeck Screening is made from the same great reclaimed timber and recycled HDPE as our composite decking, but in a smaller and narrower profile – perfect for creating an aesthetically pleasing fence or gate, minus the maintenance.
The very first step in constructing a fence or gate using Screening, is to make a plan.
Materials Required:
- Ekodeck Screening boards (if you need a hand working out the quantities for your project, check out our Screening Calculator!)
- Timber posts
- Pre-mixed concrete bags
- 8g x 40mm stainless steel screws
- Spirit level
- String line
- Drop saw
- Drill
- Drill bits
- Measuring tape
- Hinges and latch (for gates)
Steps to Construct Your Ekodeck Screening Fence/Gate:
1. Planning and Measurement:
The first step is to measure the dimensions of your project. We always recommend to double check your measurements, so that you don’t get any surprises when it’s too late.
You can then start planning the layout and design of your fence – making sure to work with the set lengths of Ekodeck Screening, as they come in the one size of 67mm wide and 2.7m long.
If you need a hand working out the quantities of Screening boards that you need for your fence or gate, we have a Screening Calculator to help, which you can enter the dimensions and gaps between each board, to get the total number of lengths you’ll need for your project.
If you’re updating an existing fence or gate (like we did in the above video), you’ll need to ensure that the current posts/supports that are there are suitable for Ekodeck Screening – we recommend a maximum span of 900mm between supports.
2. Gather Materials:
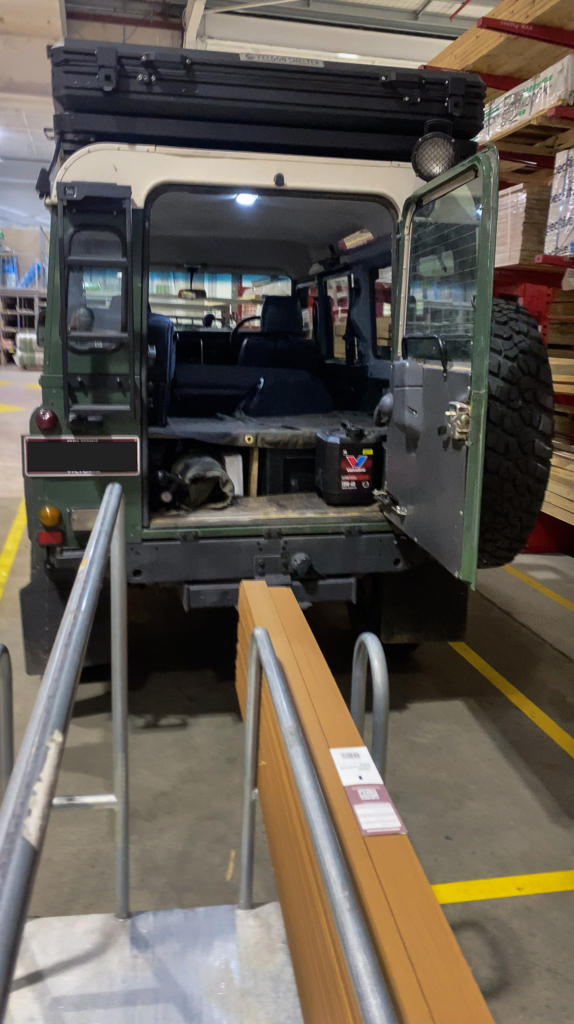
Once you’ve worked out how many lengths of Ekodeck Screening you need, you can head to your local Bunnings Warehouse to gather all your materials.
See the top of this article for a list of all the materials and tools you’ll need.
3. Prepare the Area:
Clear the area of any obstacles or debris, so you’ve got a clean workspace and room to work.
Mark the location of any supports or posts that need to be installed, making sure that they’re at the correct distance according to your plan and the specifications.
4. Install the Posts (Optional):
Dig holes for the timber posts using a post hole digger. The depth of the holes should be approximately one-third of the length of the posts to ensure stability.
Place the posts in the holes and use a spirit level to ensure they are vertical. Fill the holes with concrete and allow it to set.
If your design has the Screening boards running vertically, like a traditional picket fence, secure your horizontal supports as well. For longevity, it is recommended to use H3 treated timber for above-ground use.
5. Cutting Ekodeck Screening to Length:
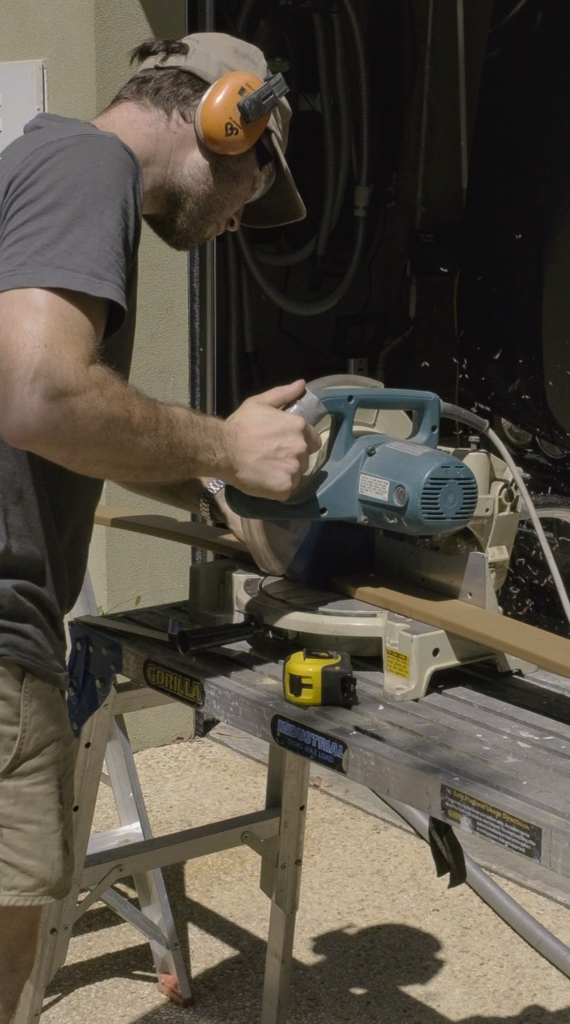
Measure and cut the boards to size, using a good quality hardwood blade. We recommend using a drop saw to cut Ekodeck Screening, with a 60-80 tooth blade.
5. Attaching Ekodeck Screening:
Once the posts are securely in place, and you’ve cut all your boards to length, it’s time to get started on fixing the Ekodeck Screening boards to the posts!
When fixing onto timber posts or supports, you’ll need to pre-drill a slightly oversized pilot hole and countersink the Screening board. This is to allow for the natural expansion and contraction of Ekodeck as a composite material.
You can then start fixing your boards to the supports, using one screw at each post.
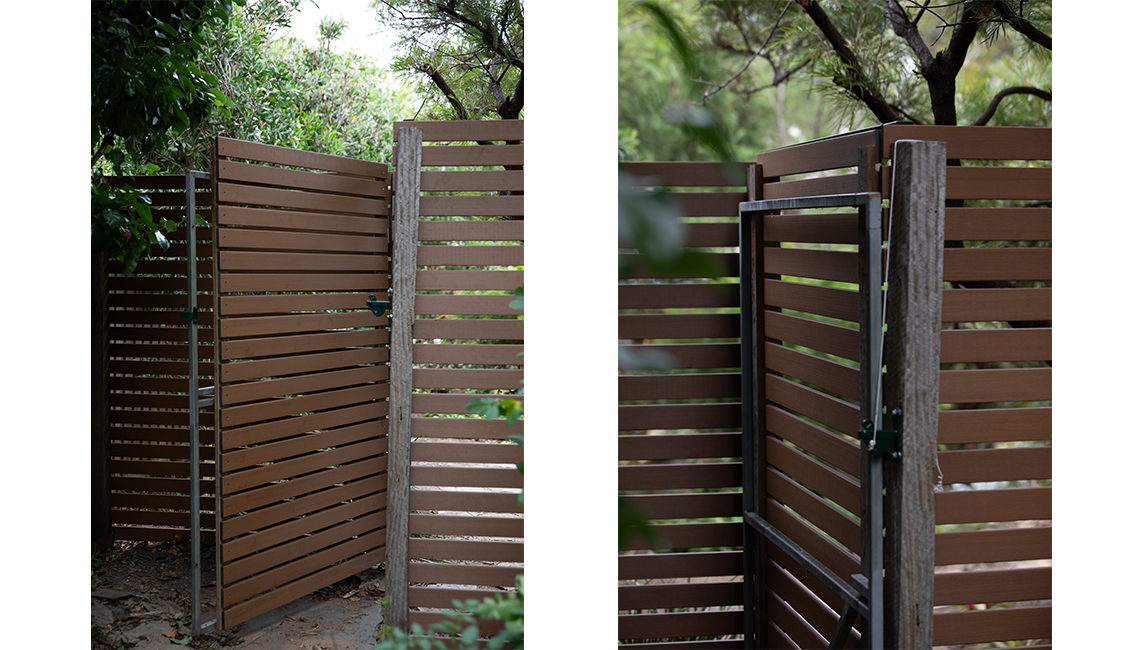
6. Gate Construction (Optional):
If your fence has a gate in it like ours does, install the boards the same as the rest of the project, ensuring that you’ve left enough ground clearance for the gate to swing open.
Attach hinges to one of the posts and the gate frame, allowing it to swing freely, and install a latch or lock mechanism on the other side.
7. Finishing Touches:
Inspect the fence and/or gate to ensure everything is securely fastened and straight. Make any final adjustments as needed.
For more information on installing Ekodeck Screening, you can download our Installation Guide below:
If you’ve got any questions, feel free to reach out to us via email at [email protected] or give us a call on (03) 9639 7774.
You may also like
Get started with Ekodeck
Experience our entire colour range for yourself. We deliver a sample kit complete with each colour direct to your door.