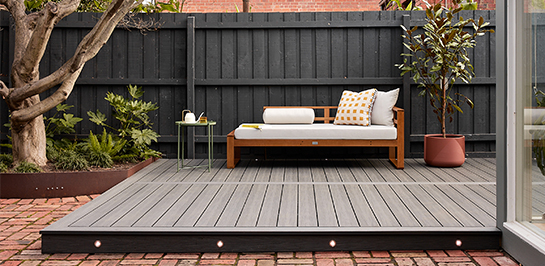
How to install Ekodeck using the 3mm Quickfix system
Whether you’re a DIY weekend warrior or a large-scale commercial tradesperson, our concealed fastening system, Quickfix, makes installing your Ekodeck quick, easy and efficient.
Our 3mm Quickfix system comes with all the clips and screws needed to install your decking.
The three types of clips that come in your Quickfix kit include:
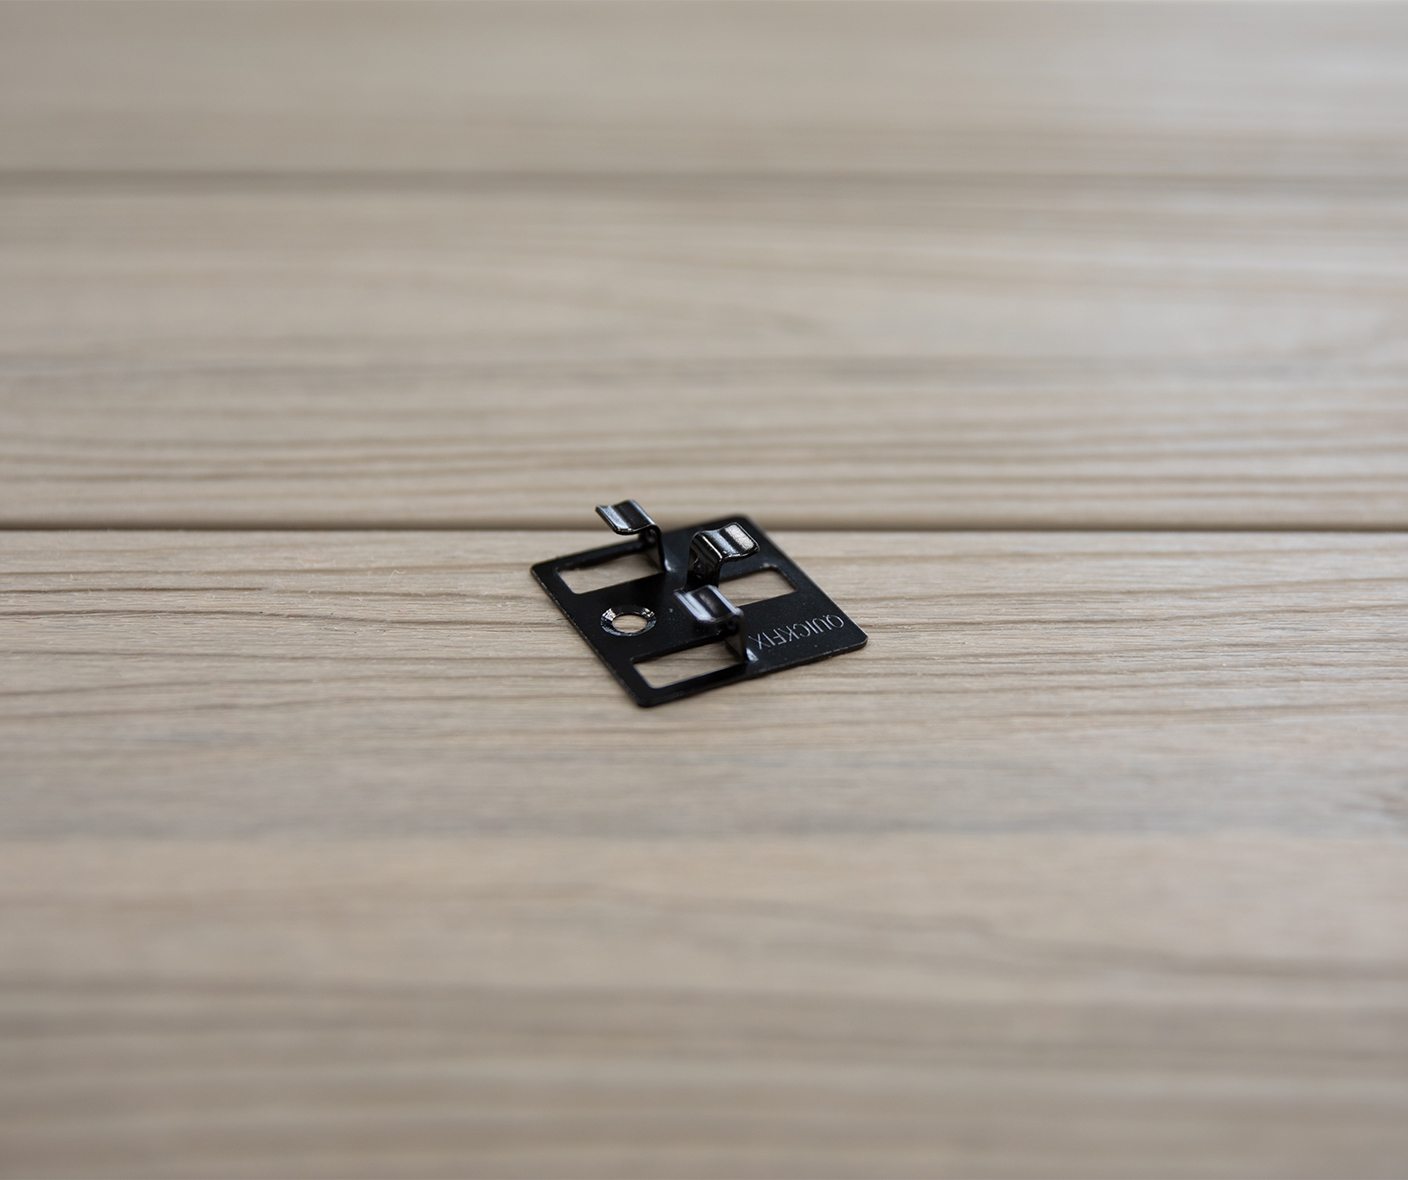
Standard Clips
Standard clips automatically space your boards apart, setting a consistent gap whilst anchoring your boards to the subframe. They are designed in a way to hold the boards down but allow them to slide along the clip as they expand and contract.

Locking Clips
Locking clips pin your boards in place, which stops them from shifting or coming out of alignment as they expand and contract. Don’t forget to install these!
We recommend placing one locking clip in the centre of each board.
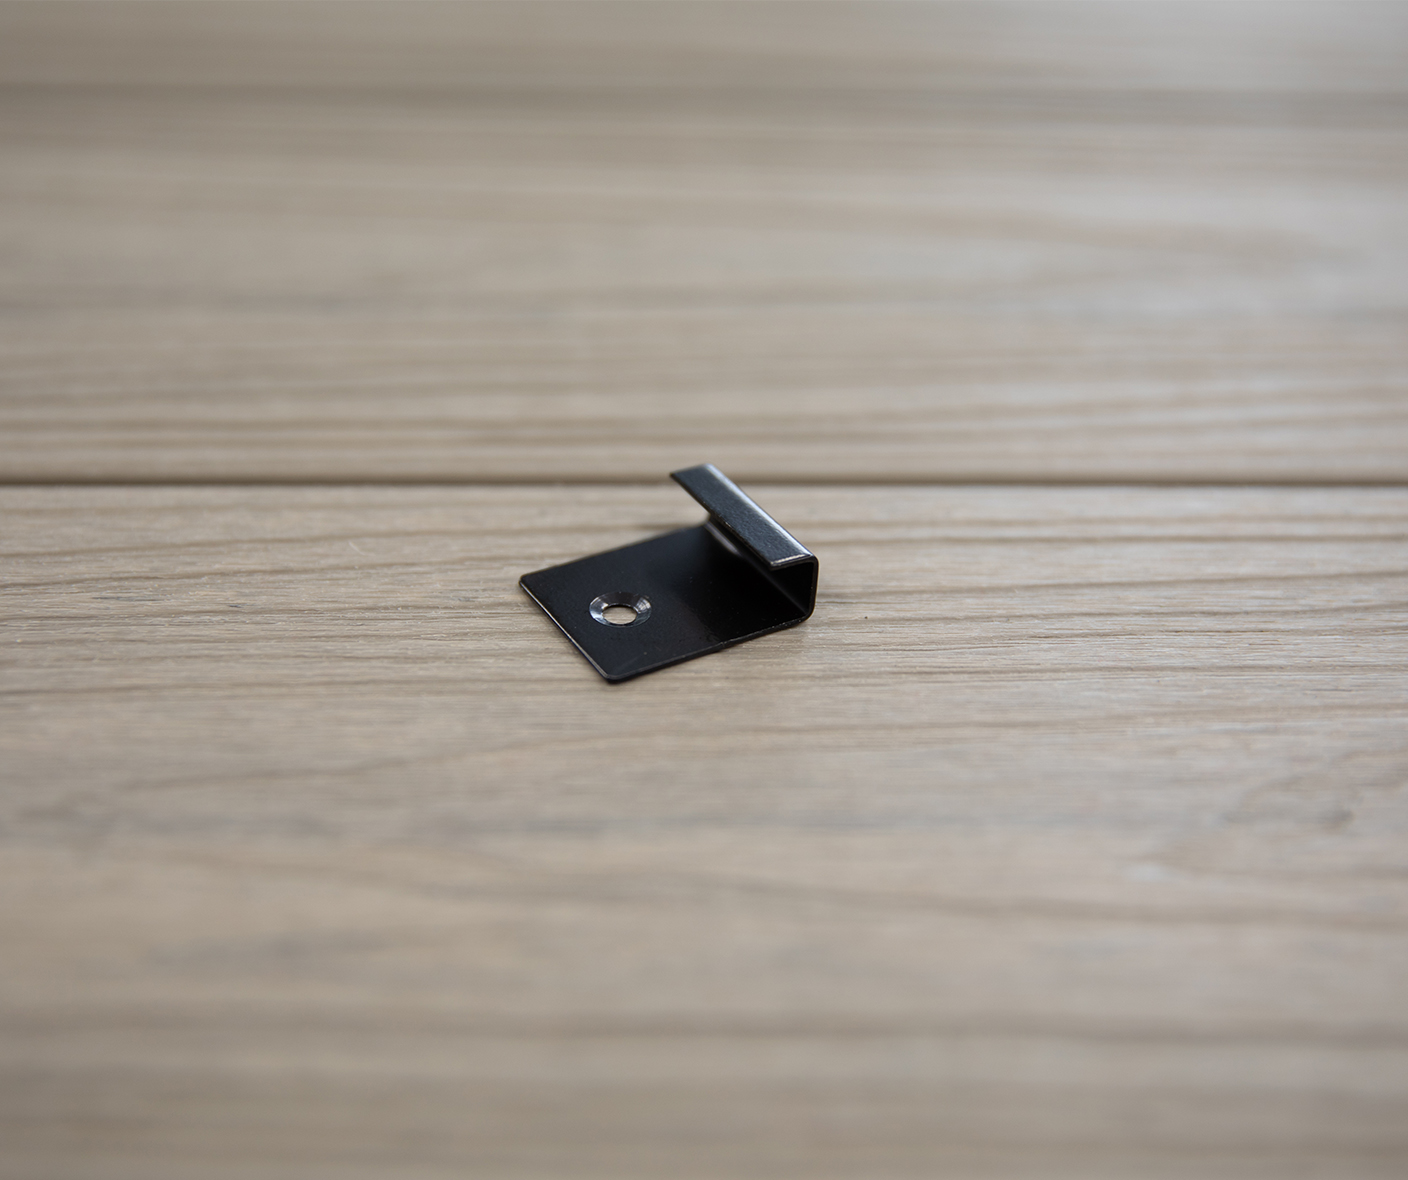
C-Clips
These are used for a range of applications – they can be used to start your deck from a wall, as well as installing our Designer Series Edge Boards.
They are also very handy when it comes to stairs and fascia boards, this is because the clips are hidden, allowing for the deck to continue having a screw-free finish.
How to Properly Install Your Ekodeck
Generally, we recommend starting from the outside edge of your deck and working your way back to your house, especially when using Ekodeck Designer Series. This ensures you have a full board on the most noticeable edge of your deck.
This allows you to rip down a board and have it against your house or wall, where it will be less likely to be noticed.
Step 1:
To begin, install your Edge Board. This process will slightly differ depending on which Ekodeck style of board you have chosen.
- If using Ekodeck Classic, check out our how-to video showing how to make your Edge Board.
- If using Ekodeck Designer Series, we have Edge Boards available. You can tell the Designer Series Edge Boards from their distinctive groove underneath the board. This groove is where the C-Clips get installed. Install C-Clips and push your Edge Board into position, check out our how-to-video for more information.
Step 2:
Then begin to install your first board, either by top fixing or using C-Clips. If you are starting from the wall, install C-Clips at a minimum of 3mm from the wall, and push your board into position.
Step 3:
With your first board now installed, you can now start installing the bulk of your boards using the 3mm Quickfix system.
To begin, place a locking clip on the centre joist (note: you only require 1 locking clip per board).
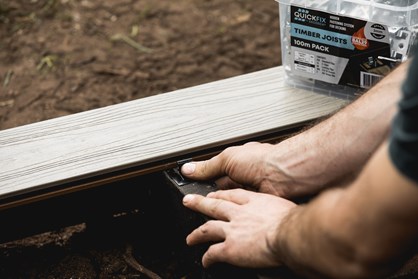
Push it firmly into the groove and screw down, making sure it is tight and secure. Then you can attach a standard clip to each remaining joist.
Note: you only need 1 screw per clip.
If you are installing onto steel, you can either pop rivet the clips down, or use a 10g x 16mm Steel Screw.
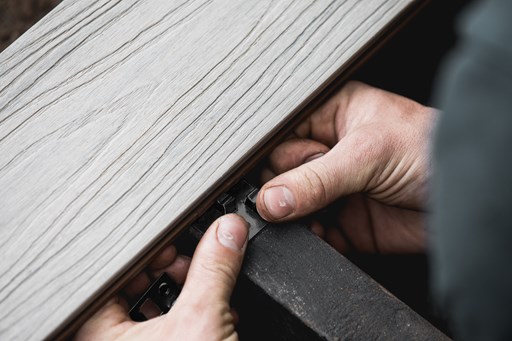
You can now push your Ekodeck board into the clips. You might need to give the board a light tap with a rubber mallet or hammer to ensure its firmly secured.
Step 4:
Repeat these steps until you reach the end of your deck, making sure to periodically check that your deck is square throughout installation by measuring out from your first board at both ends.
Step 5:
When it comes to fixing the last side of the last board on your deck, you won’t be able to use a clip because the clip won’t fit or there won’t be a groove in the board.
You also may need to rip down a board, so it properly fits into the remaining space. This can easily be achieved using a circular saw. If this is the case, you will need to secure the last edge of the board by top fixing it into position.
Note: If you need to top fix, we recommend pre-drilling an oversized clearance hole, countersinking and fastening using a 10g stainless steel screw at every joist. Whilst the desire to maintain a 100% concealed look on your deck might seem overwhelming; we do not recommend the use of adhesive or other means to fasten the last edge of your decking down – for a more inconspicuous finish you can find colour-coded screws from a local fastening supplier.
Want to Learn More?
If you have any queries about how to install your Ekodeck, check out our how-to videos or contact us at [email protected].
Our team will be happy to assist you with your project.
You may also like
Get started with Ekodeck
Experience our entire colour range for yourself. We deliver a sample kit complete with each colour direct to your door.